Welcome to Tucca!
Welcome to Tucca! Get up and running with AI-powered project management that automatically organizes your information, creates living documents, and handles the mental load of staying organized. Simply send emails to your personal@in.tucca.ai address, upload files, or take photos, and Tucca’s AI will process everything into organized projects with automatic calendars, intelligent insights, and collaborative workspaces.
Step 1: Create Your Account
Sign up for Tucca
Visit app.tucca.ai and create your account.Tucca is currently in private beta, please sign up at
tucca.ai or reach out to help@tucca.ai to get access.
Verify your email
Check your email inbox for a verification link and click it to activate your account. This helps keep your account secure and ensures you receive important updates.Step 2: Start the Onboarding
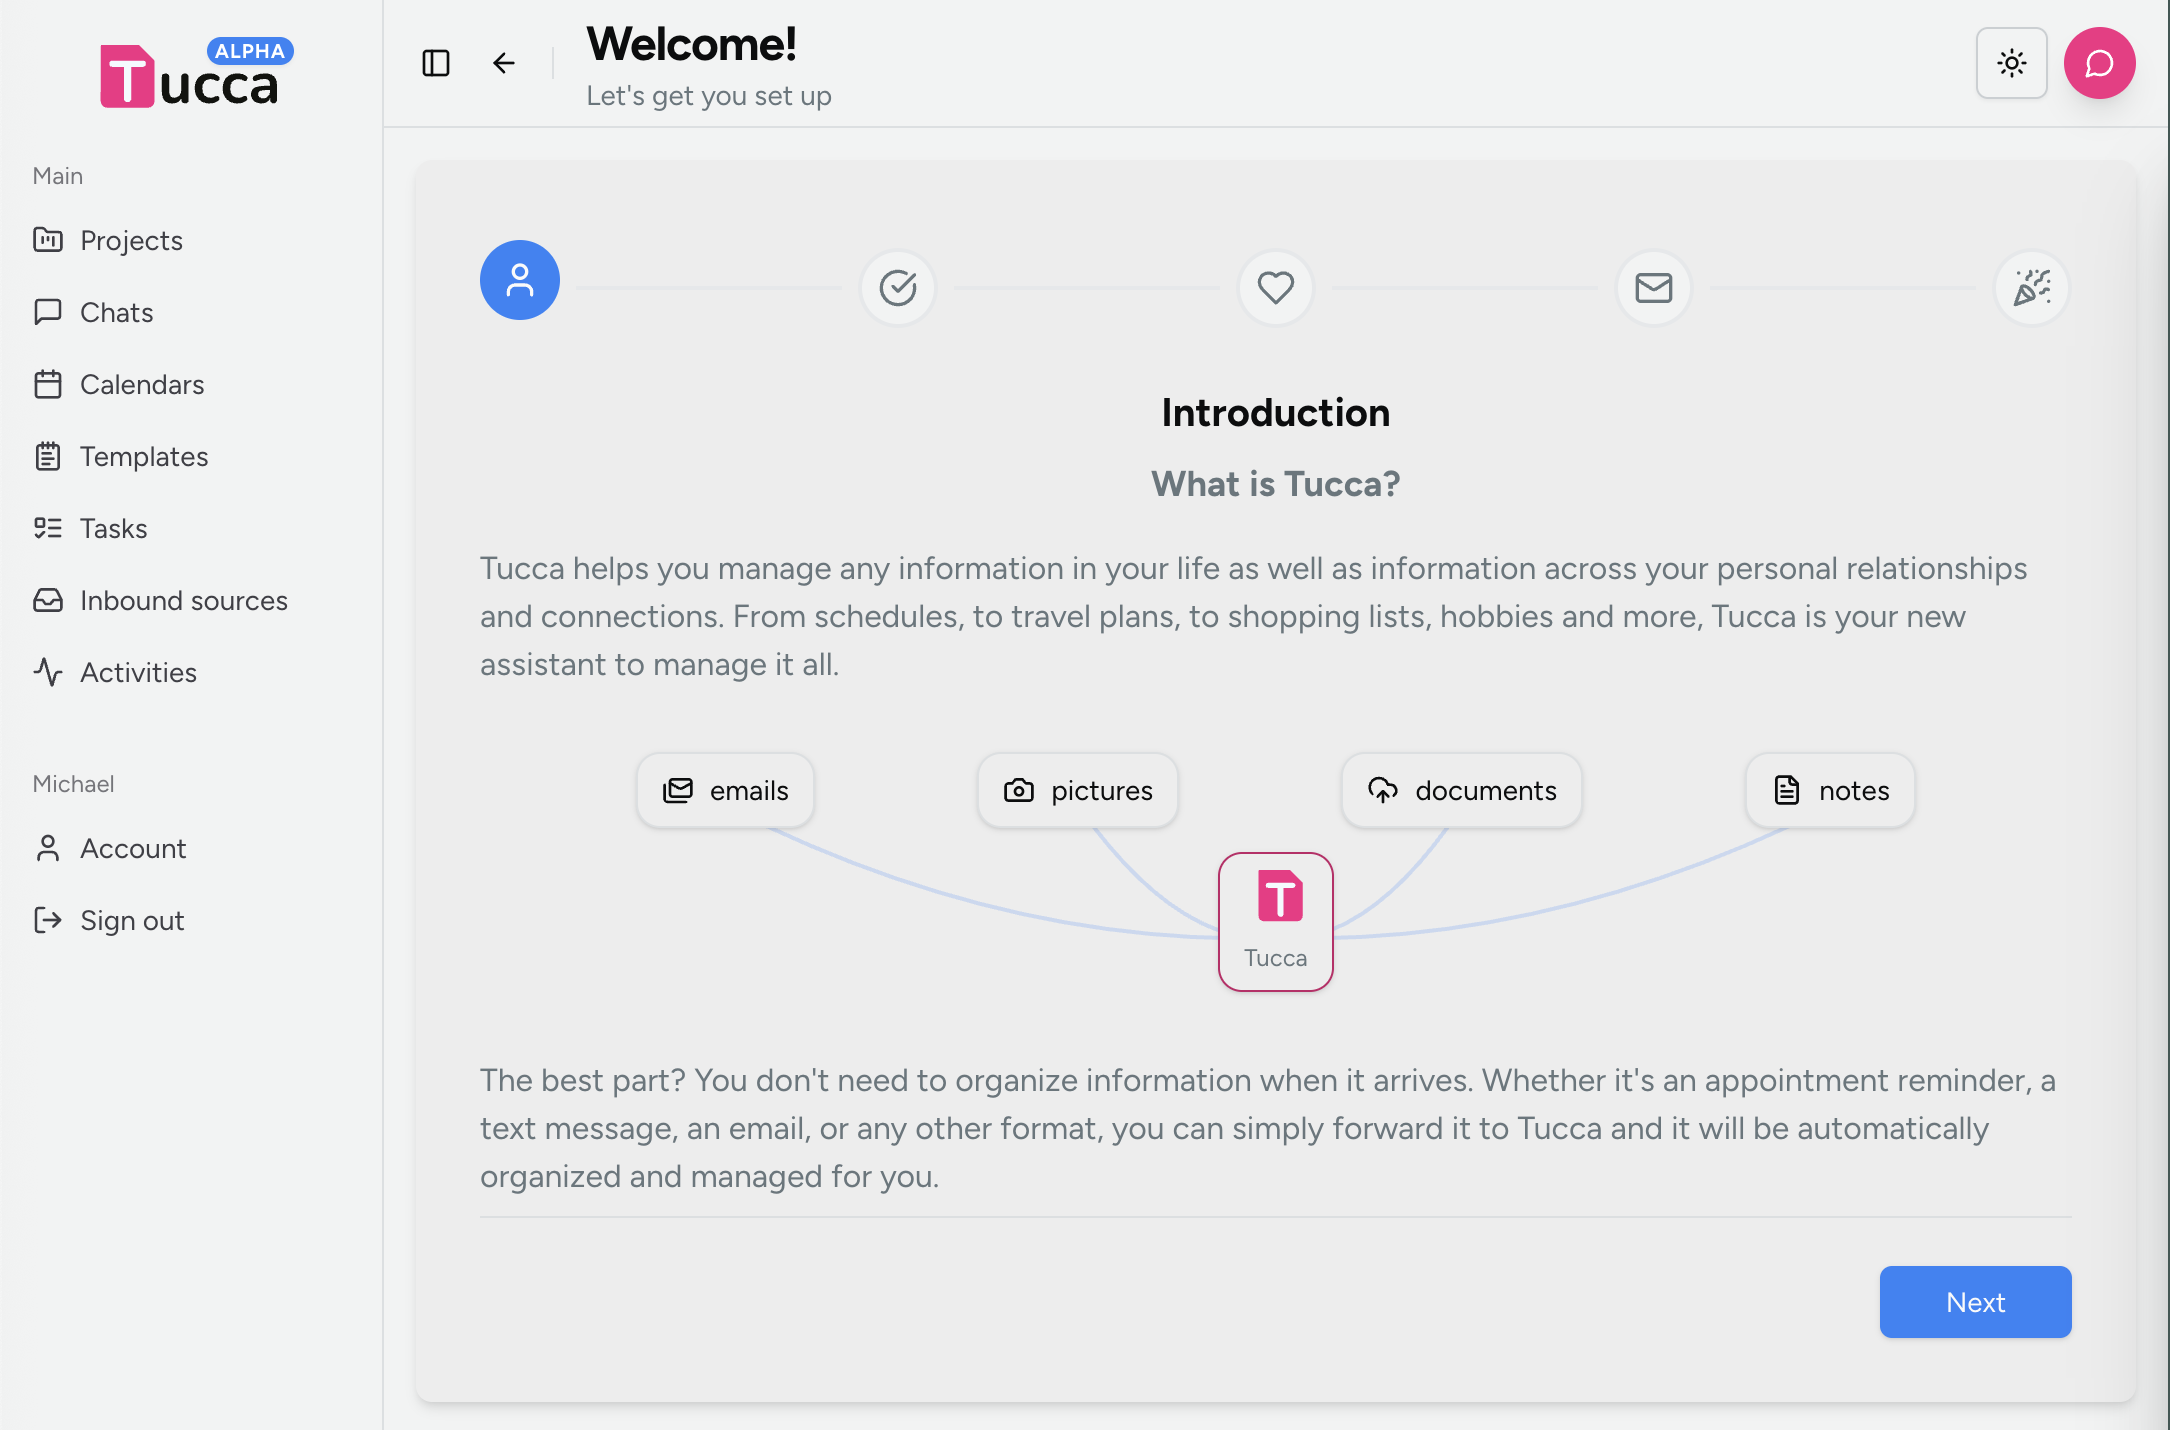
After creating your account, you’ll be taken through a guided onboarding process that helps you get started quickly. The onboarding will walk you through the essential setup steps to personalize your Tucca experience.- 📱 Mobile
- 💻 Web
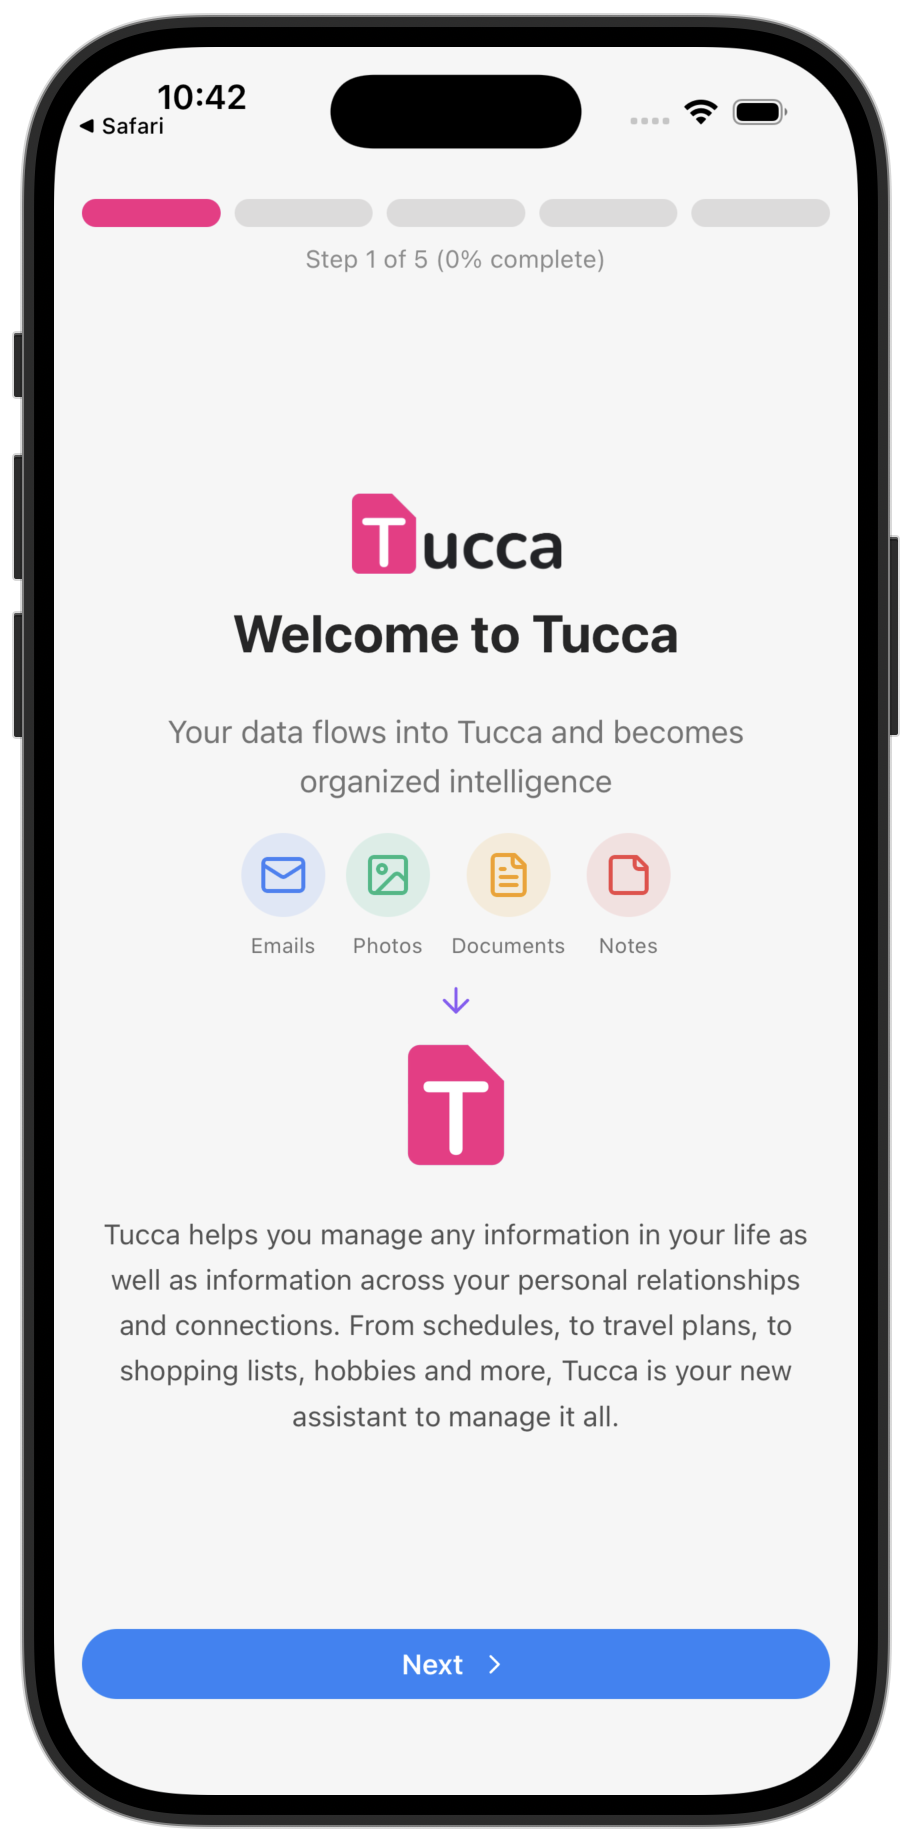
Welcome to Tucca! Let's get you set up.
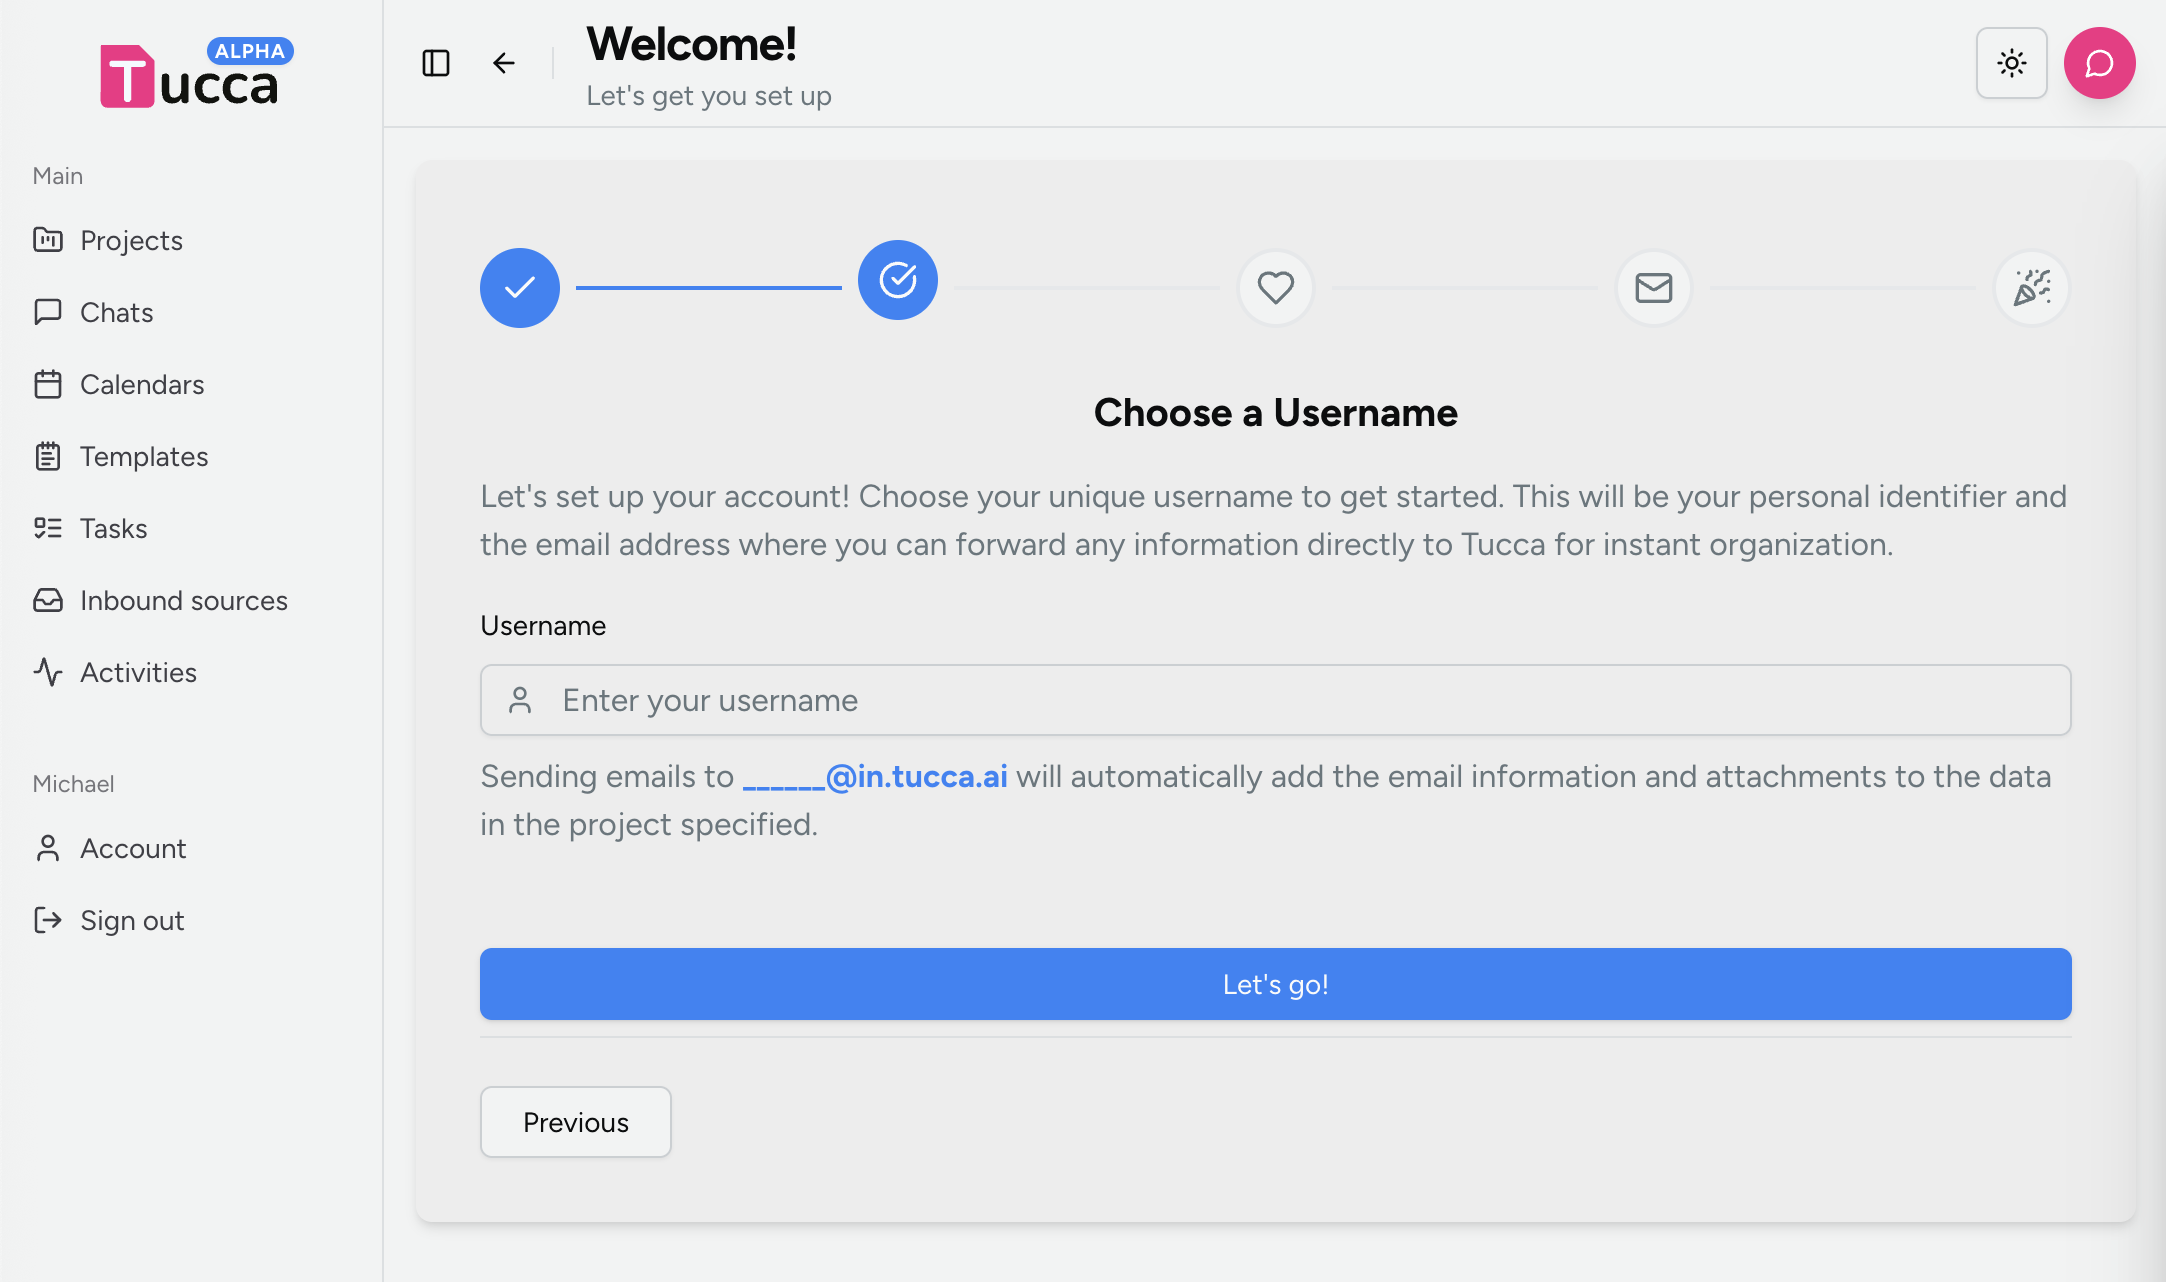
Step 3: Choose Username
Choose a username that will be used for your personal email address. Your username will create your unique@in.tucca.ai email address where you can
send information directly to your Tucca workspace.
- 📱 Mobile
- 💻 Web
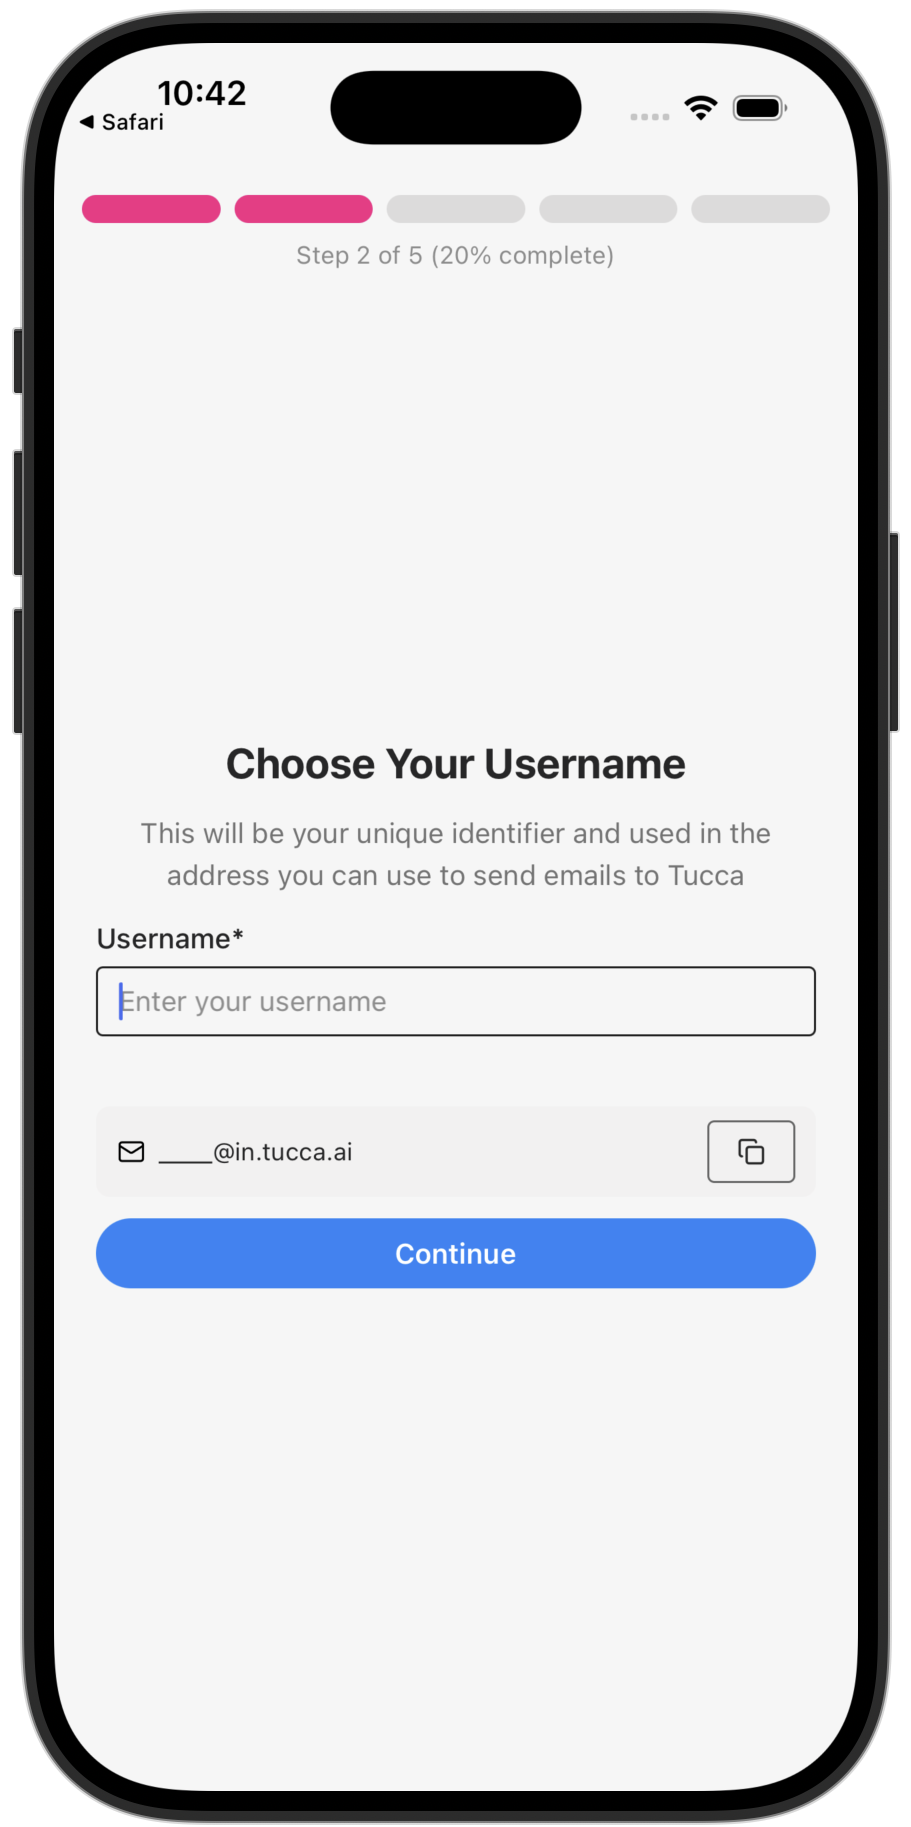
Choose a unique username to use on Tucca.
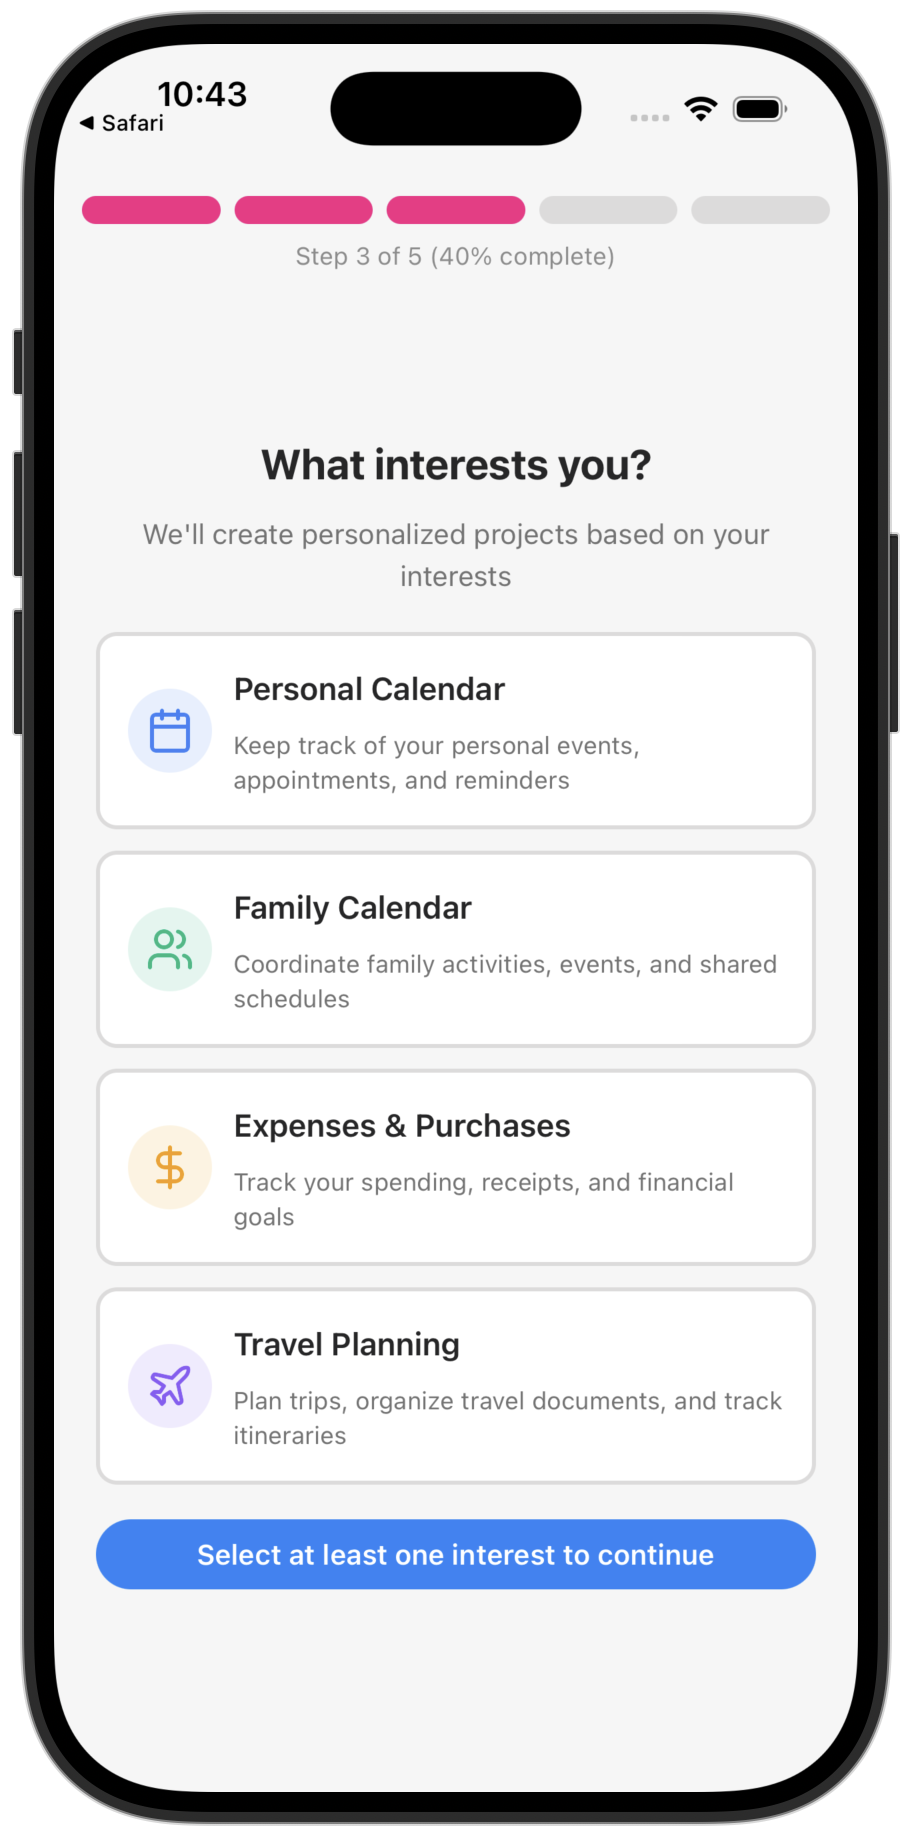
Step 4: Choose Interests to Create Initial Projects
Select some initial interests and Tucca will create projects for them for you.- 📱 Mobile
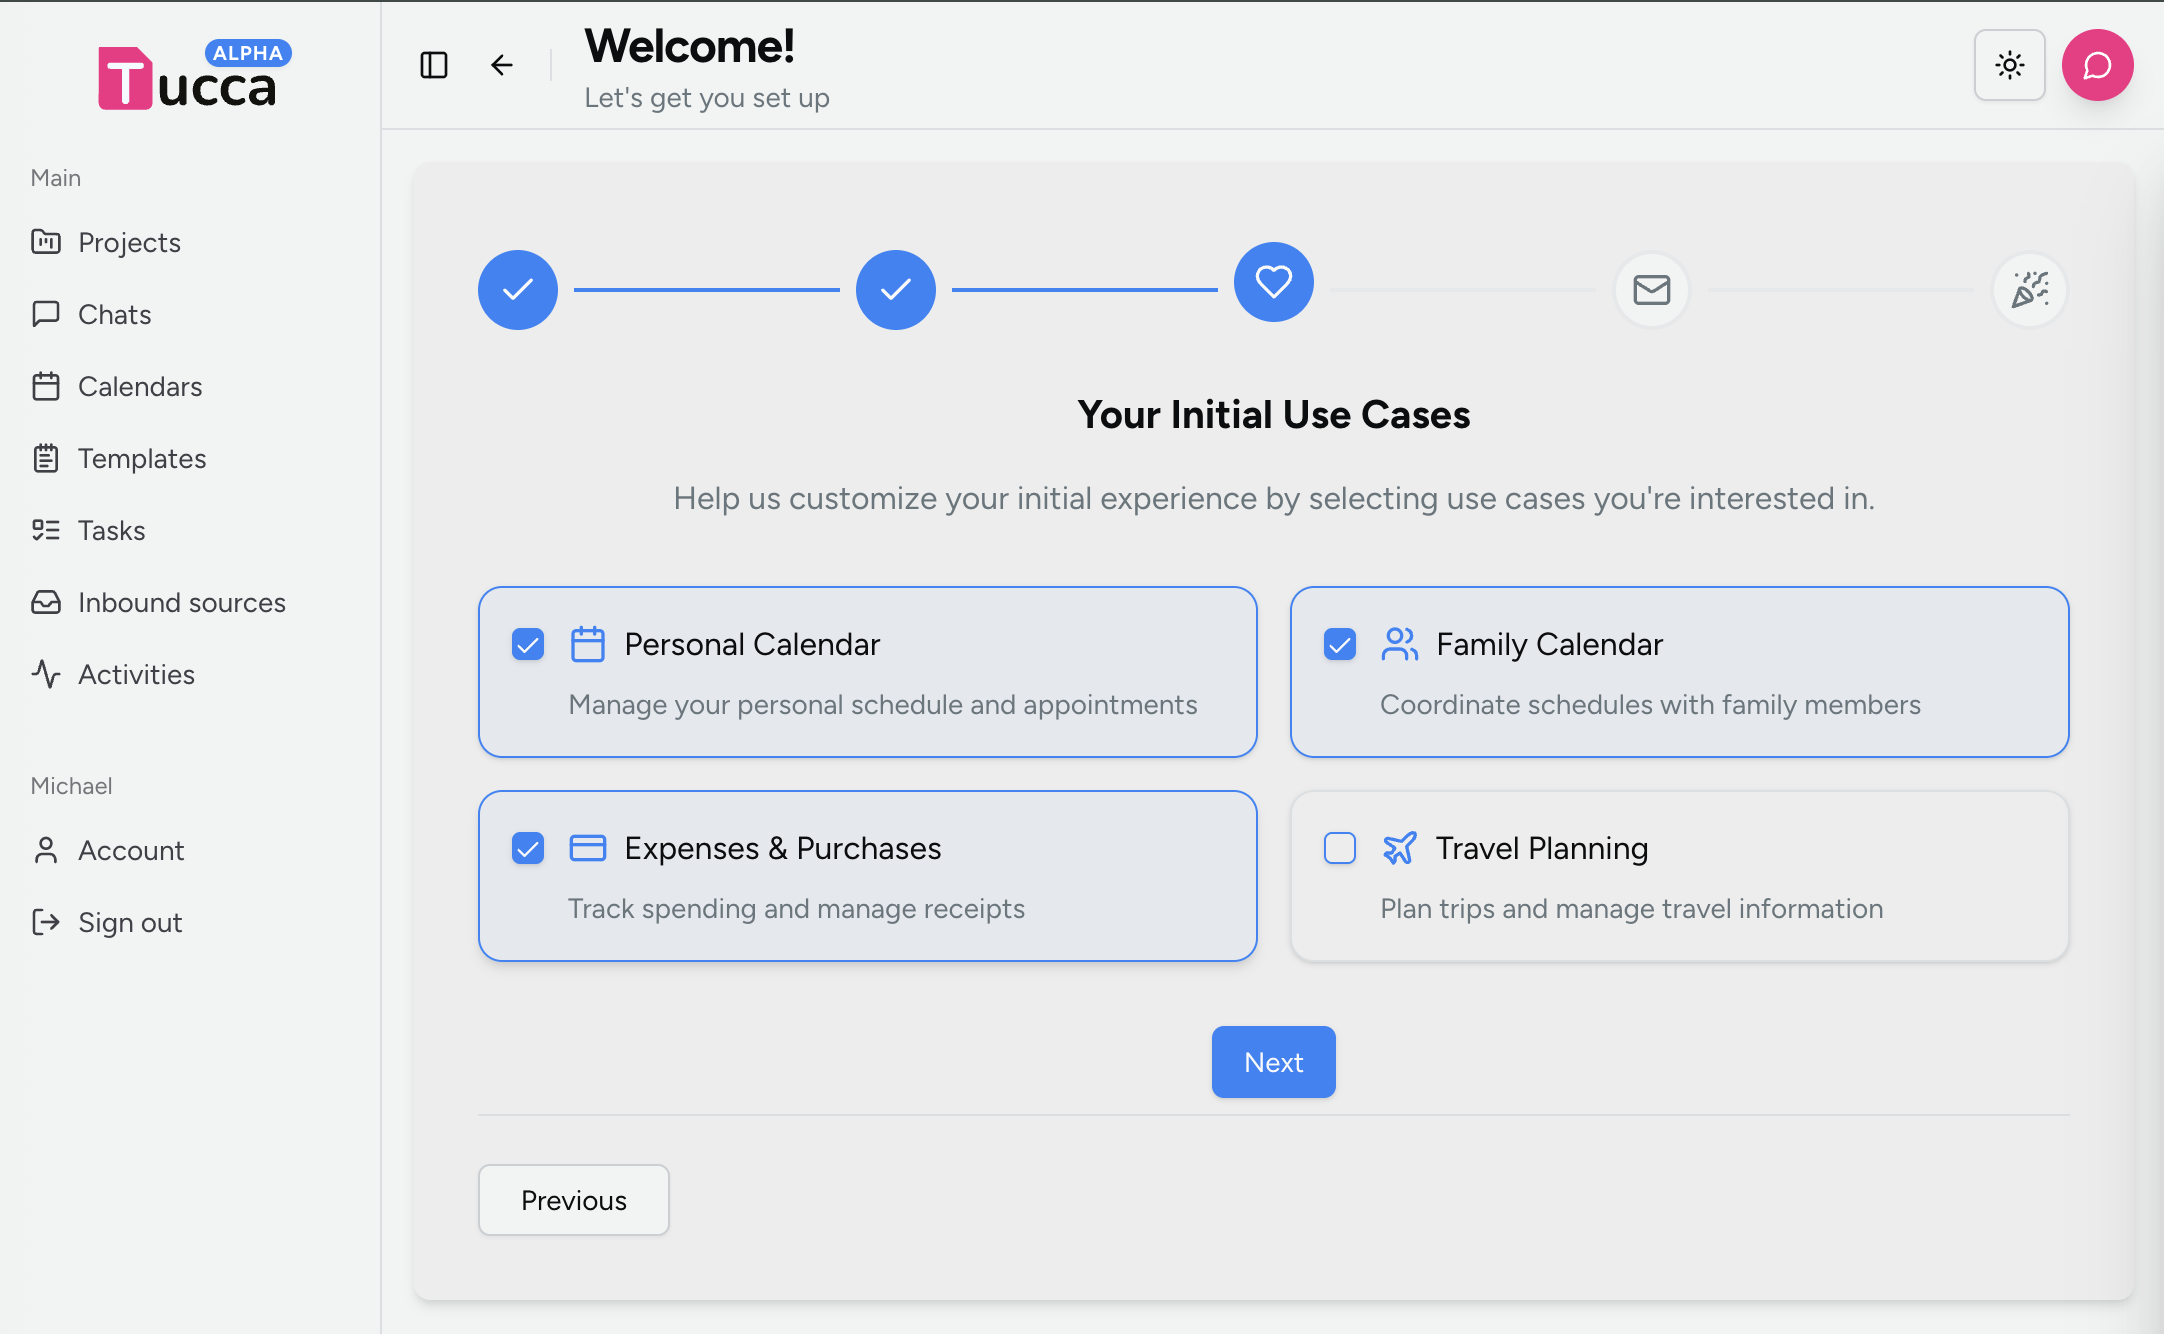
- 💻 Web
Select some initial interests and Tucca will create projects for them for you.
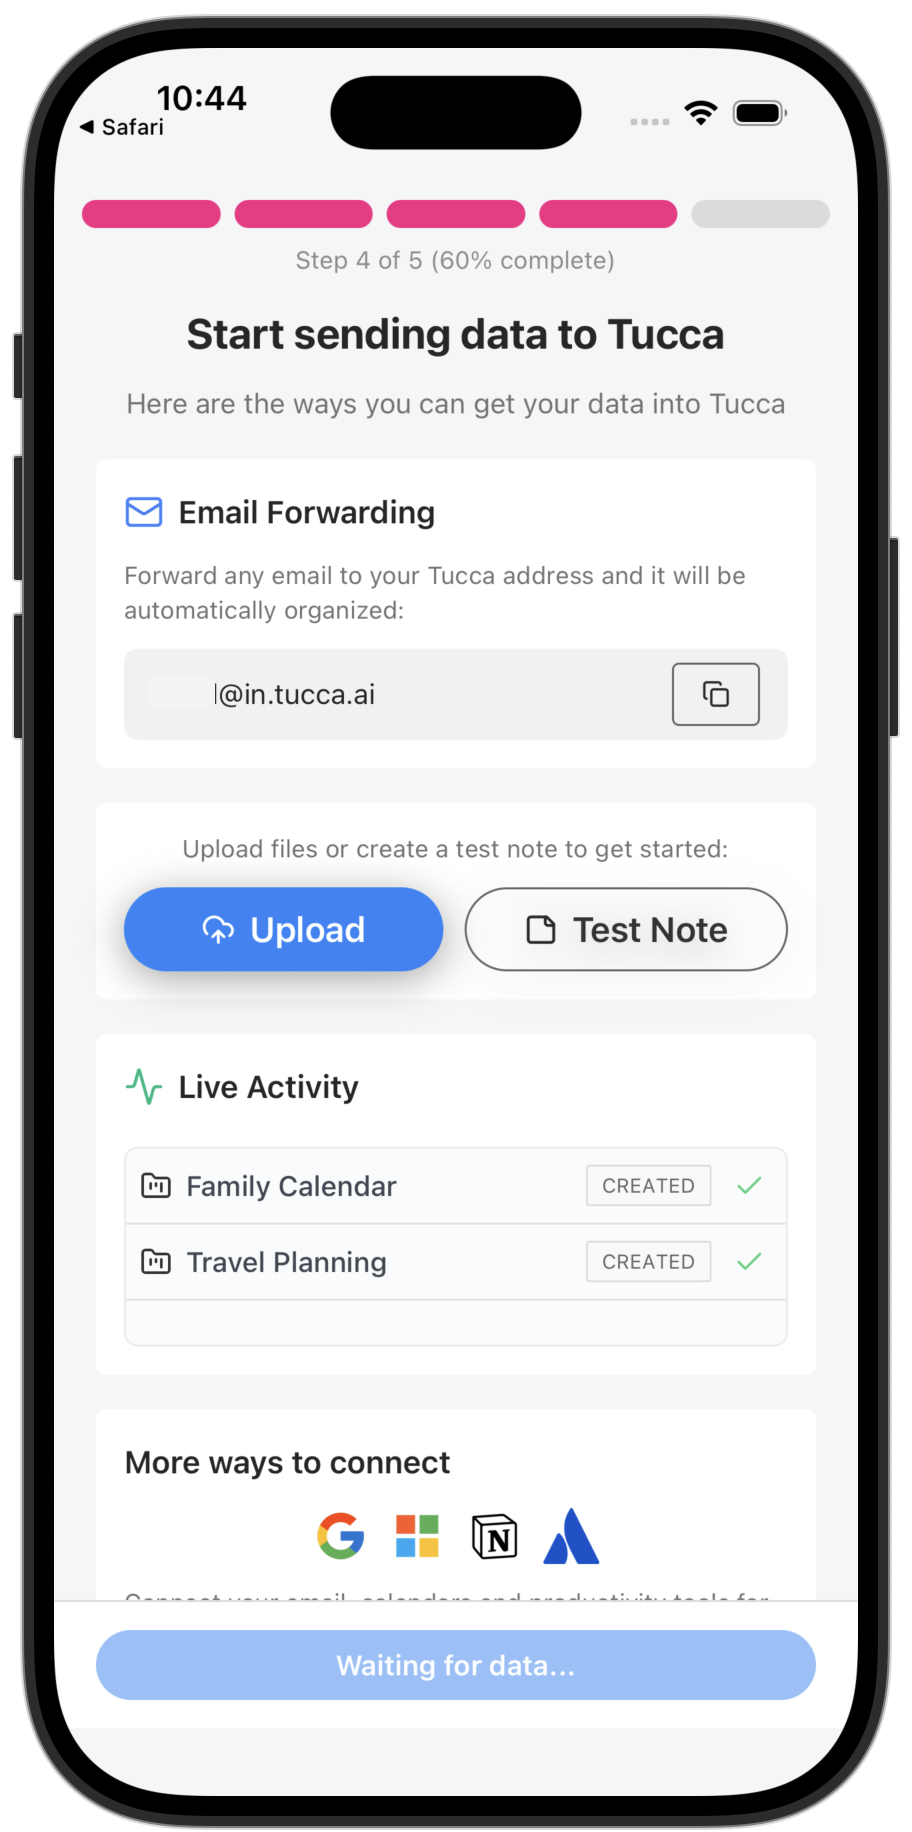
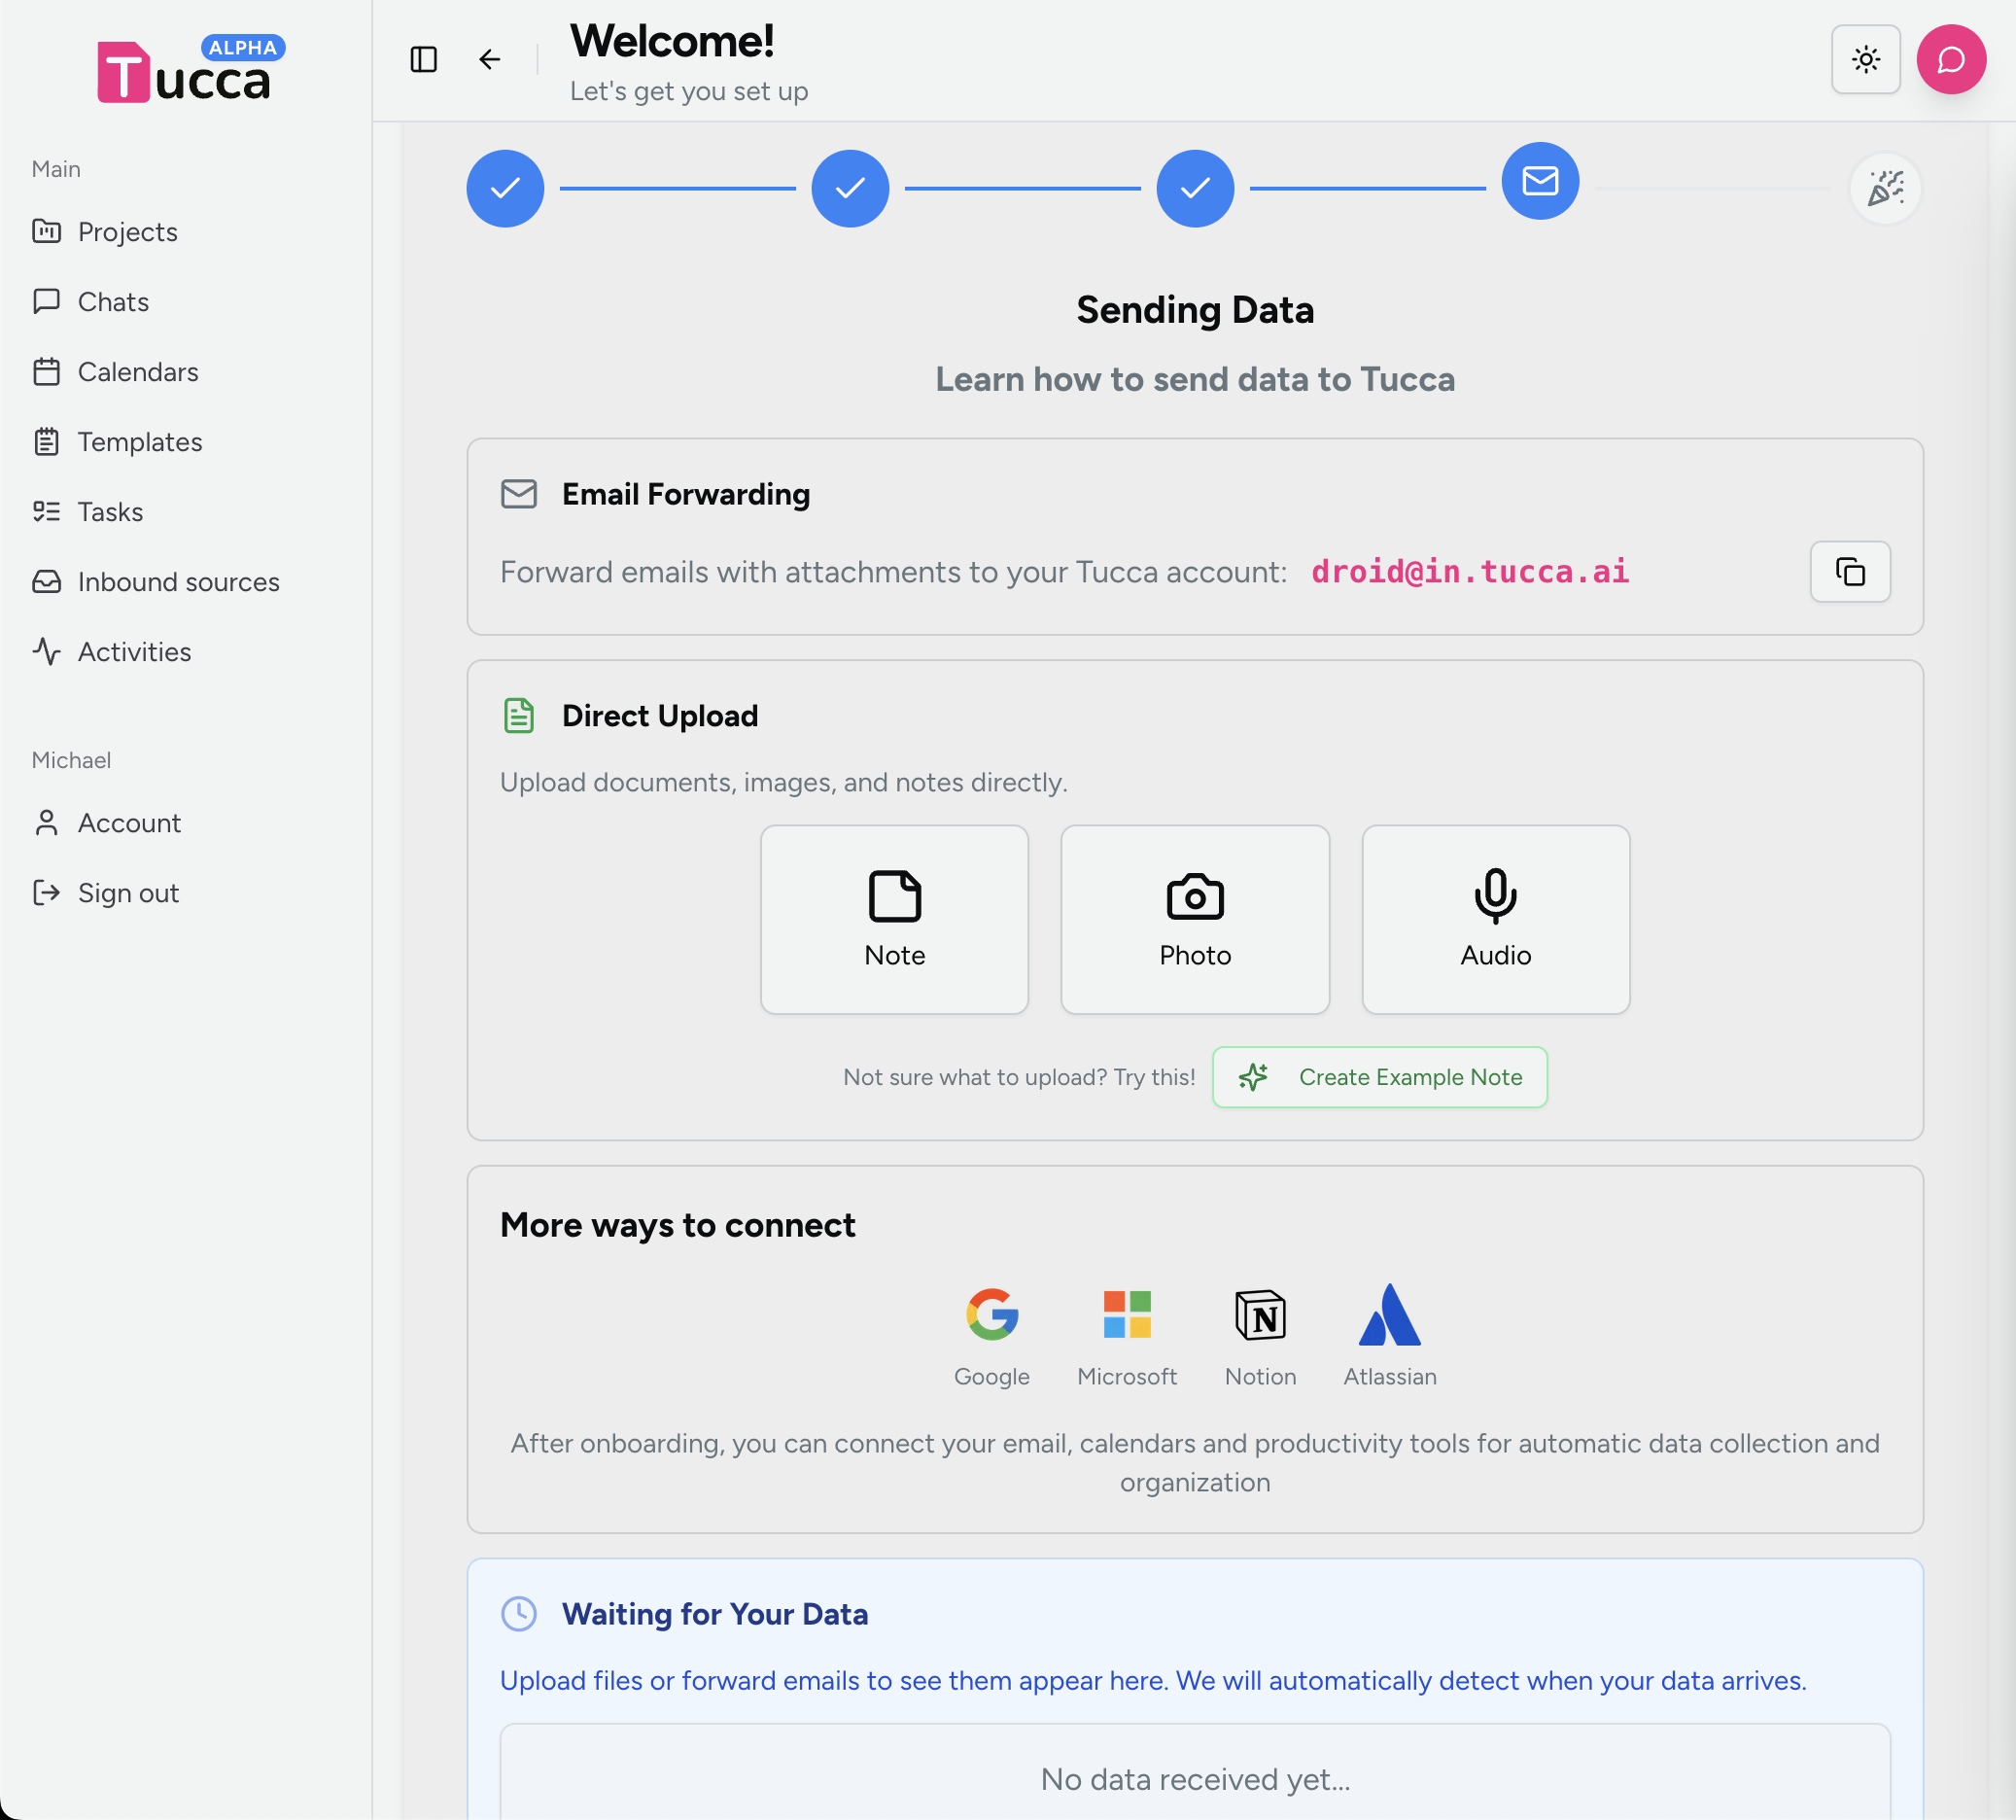
Step 5: Send Some Data
Upload data or send an example note
Now it’s time to start using Tucca! You have a few options for sending data:- Send/forward an email to your new
<username>@in.tucca.aiaddress - upload files or images
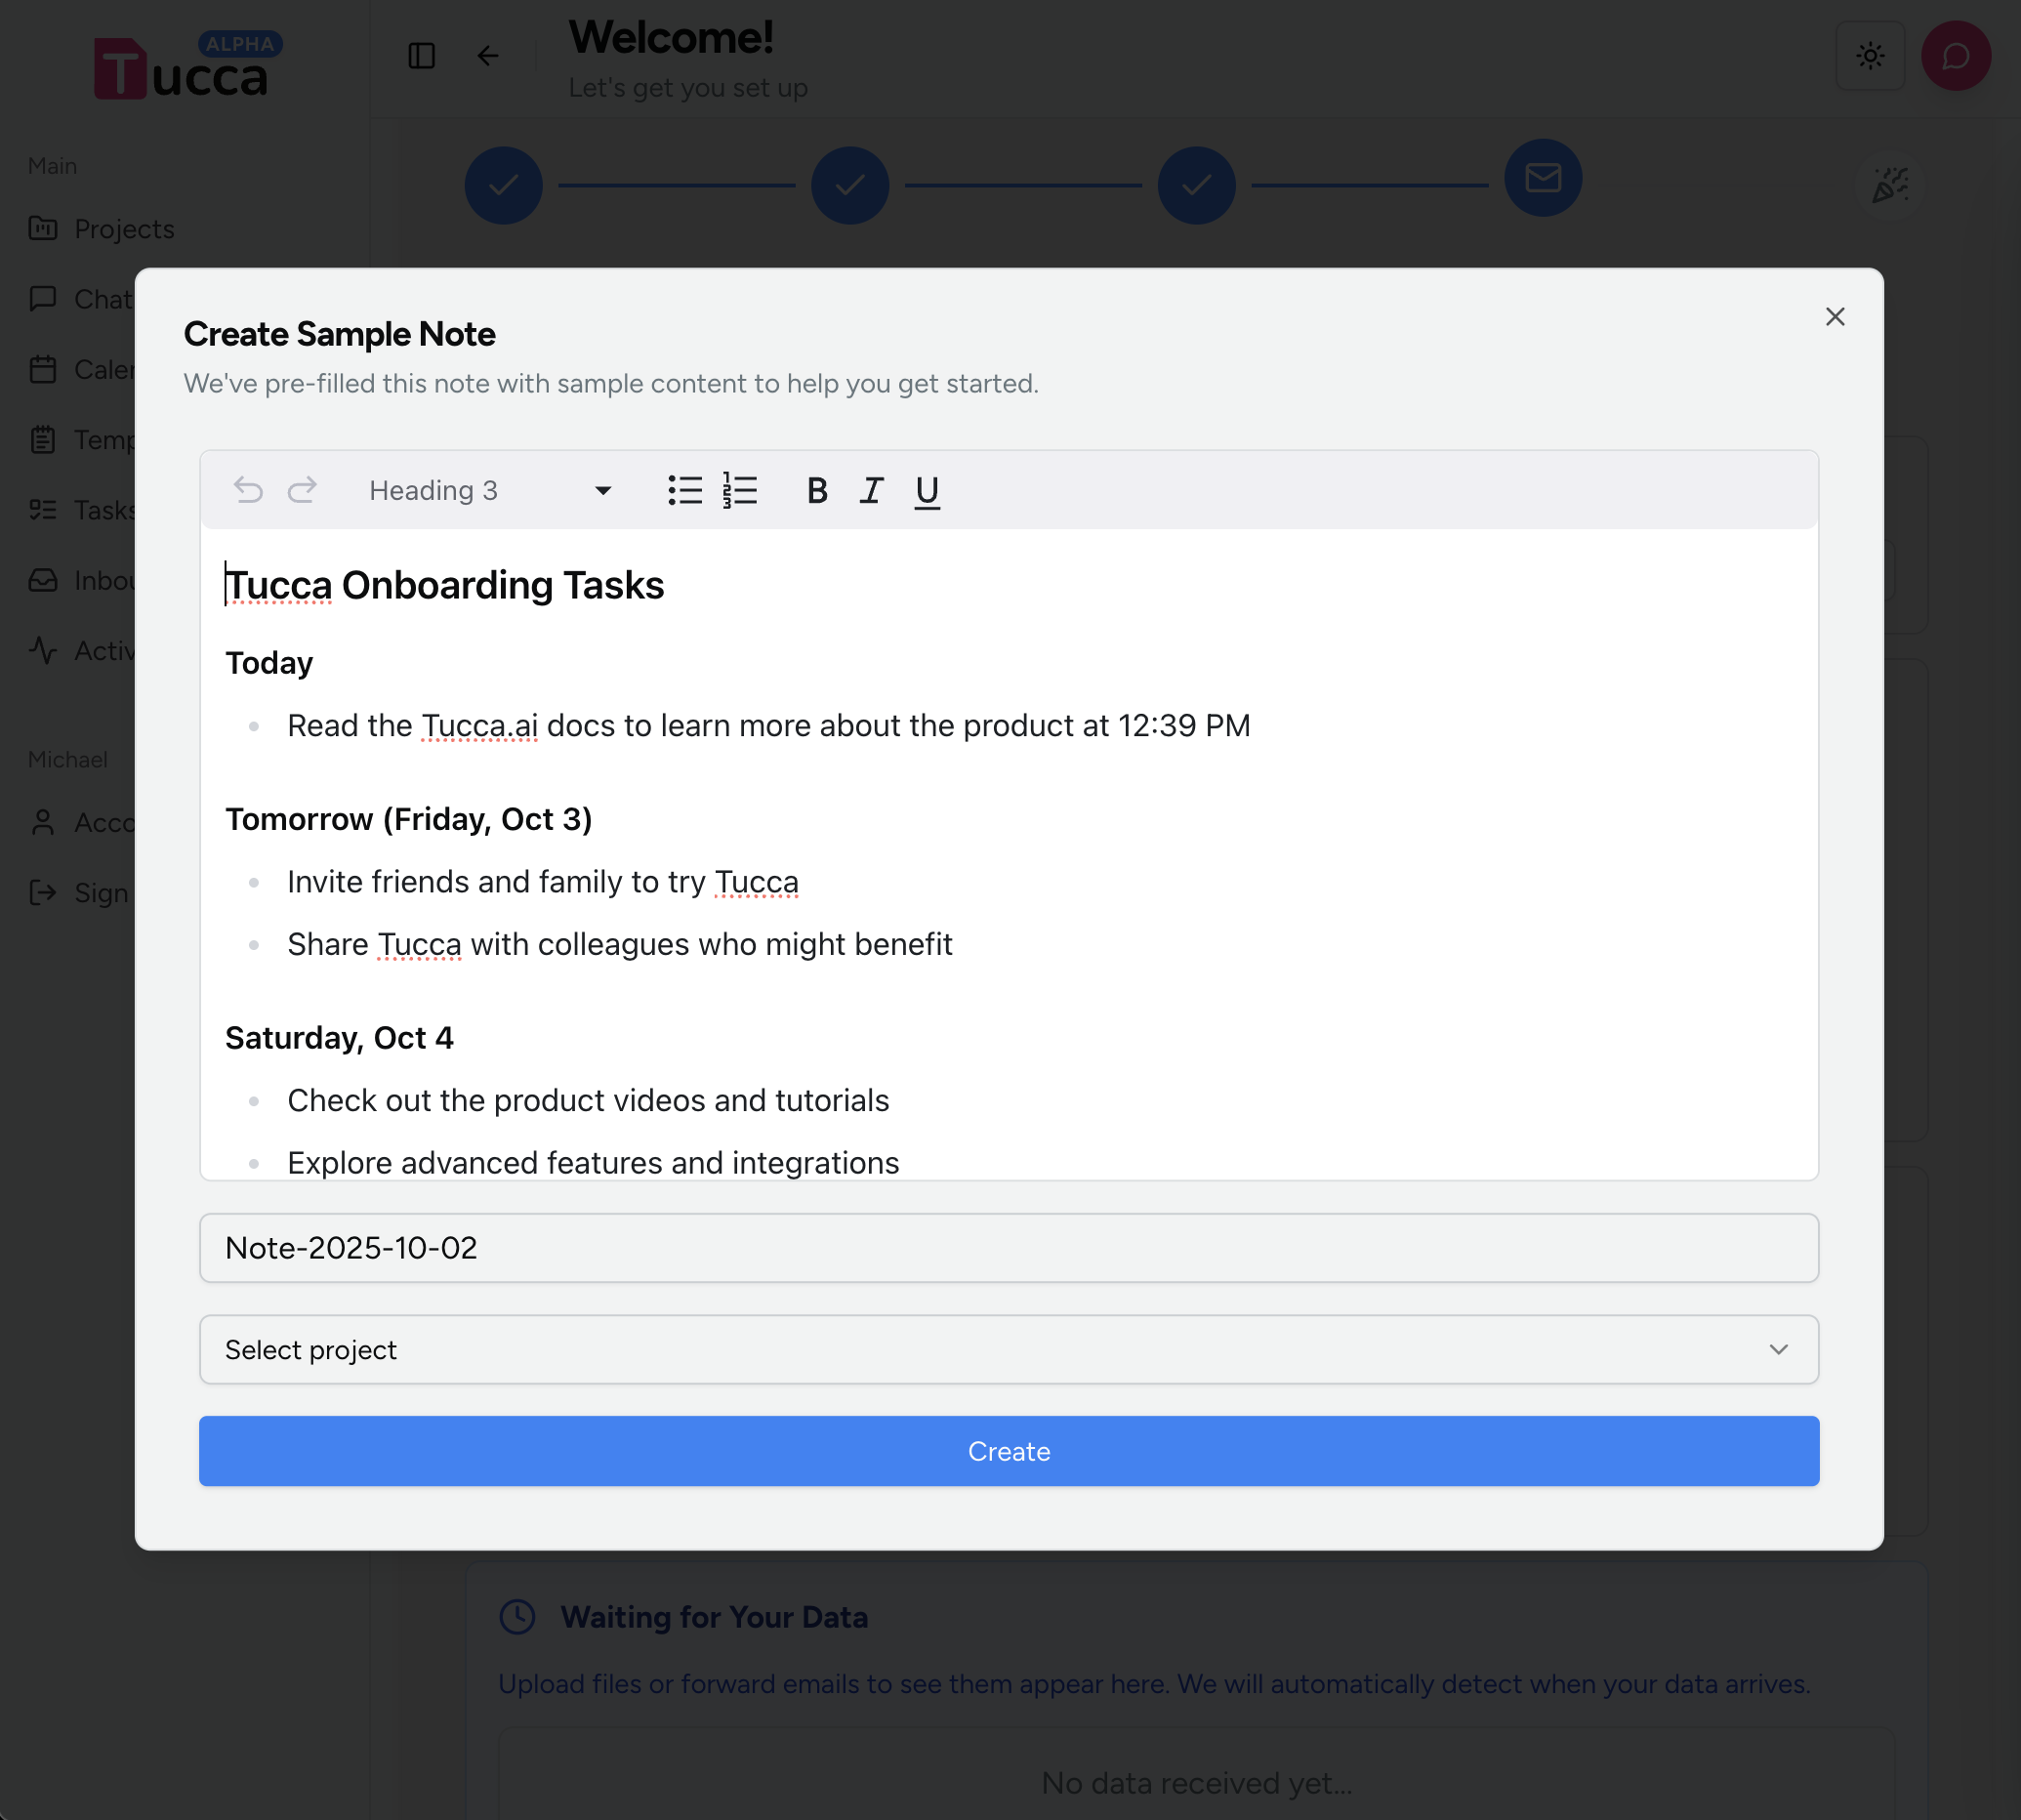
- or create a quick note
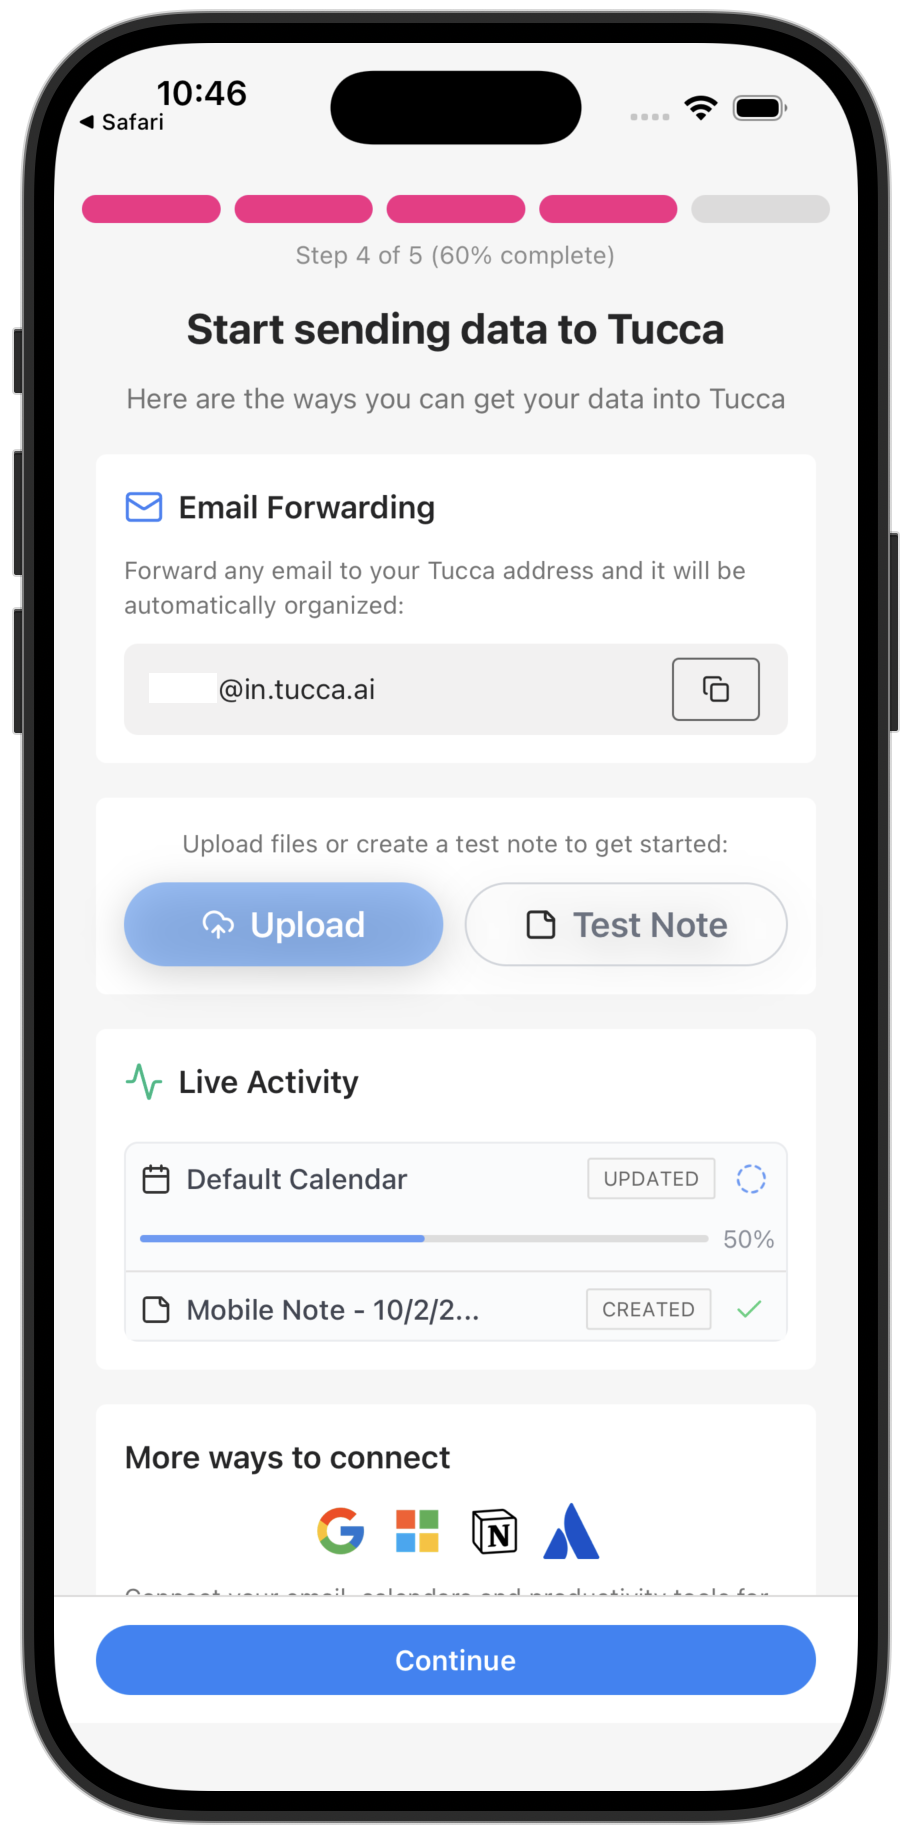
- 📱 Mobile
- 💻 Web
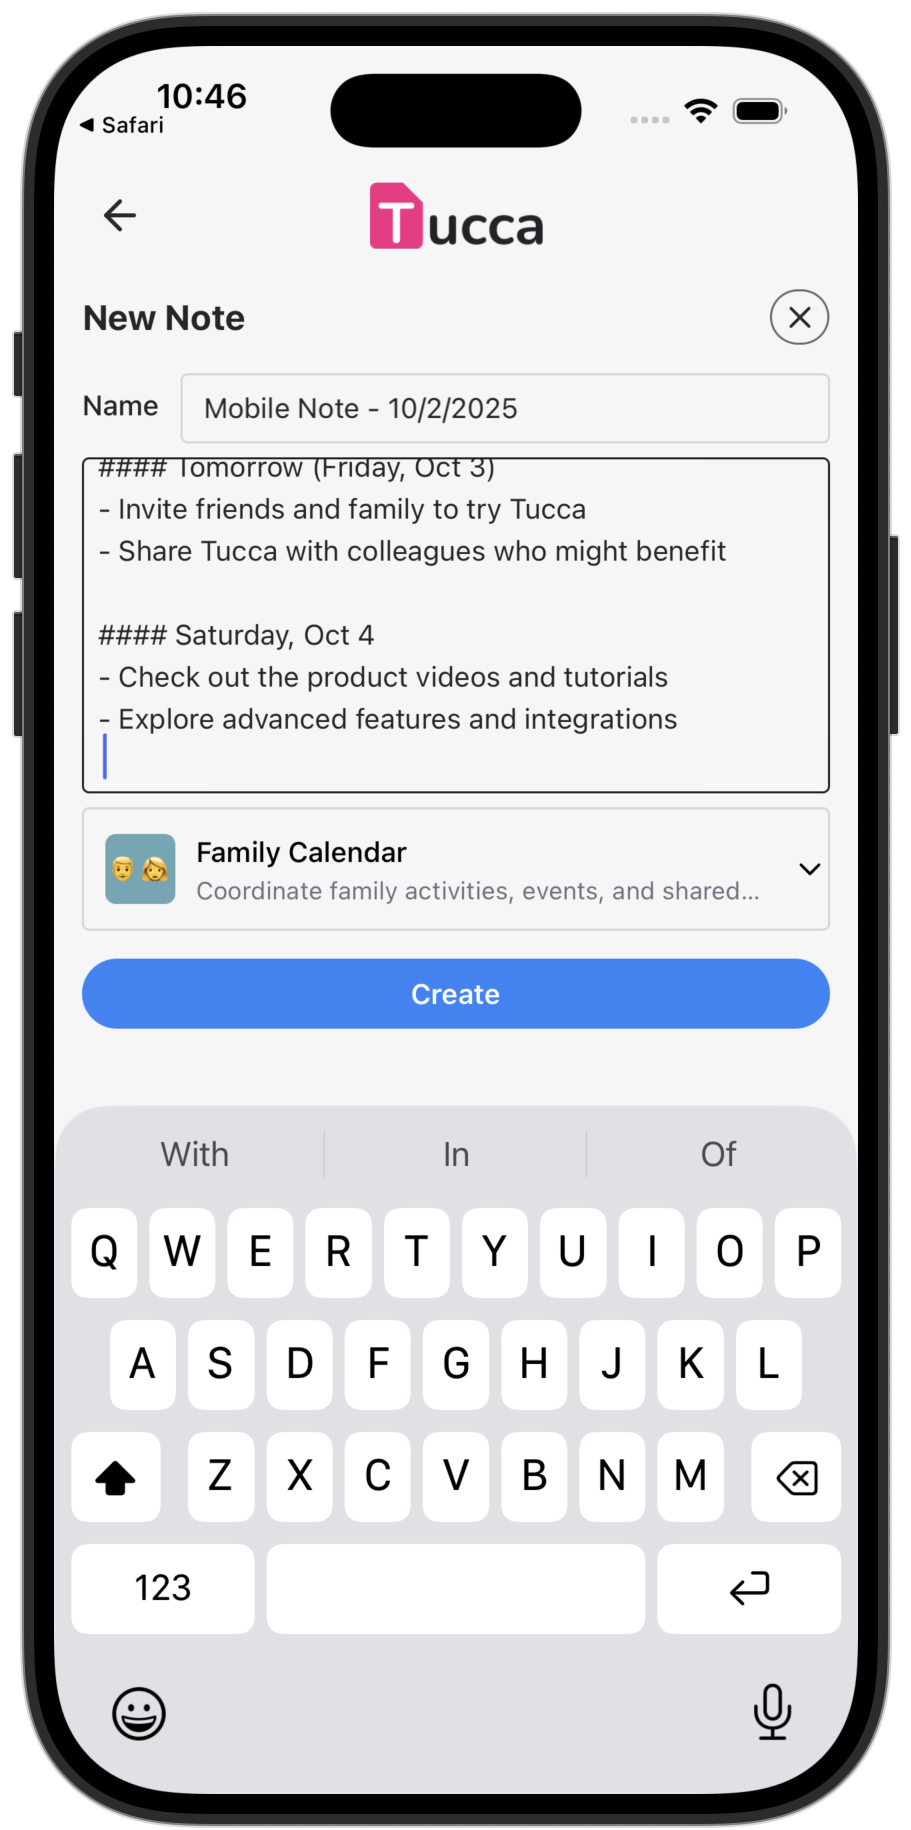
Upload data relevant to the interests or create an example note
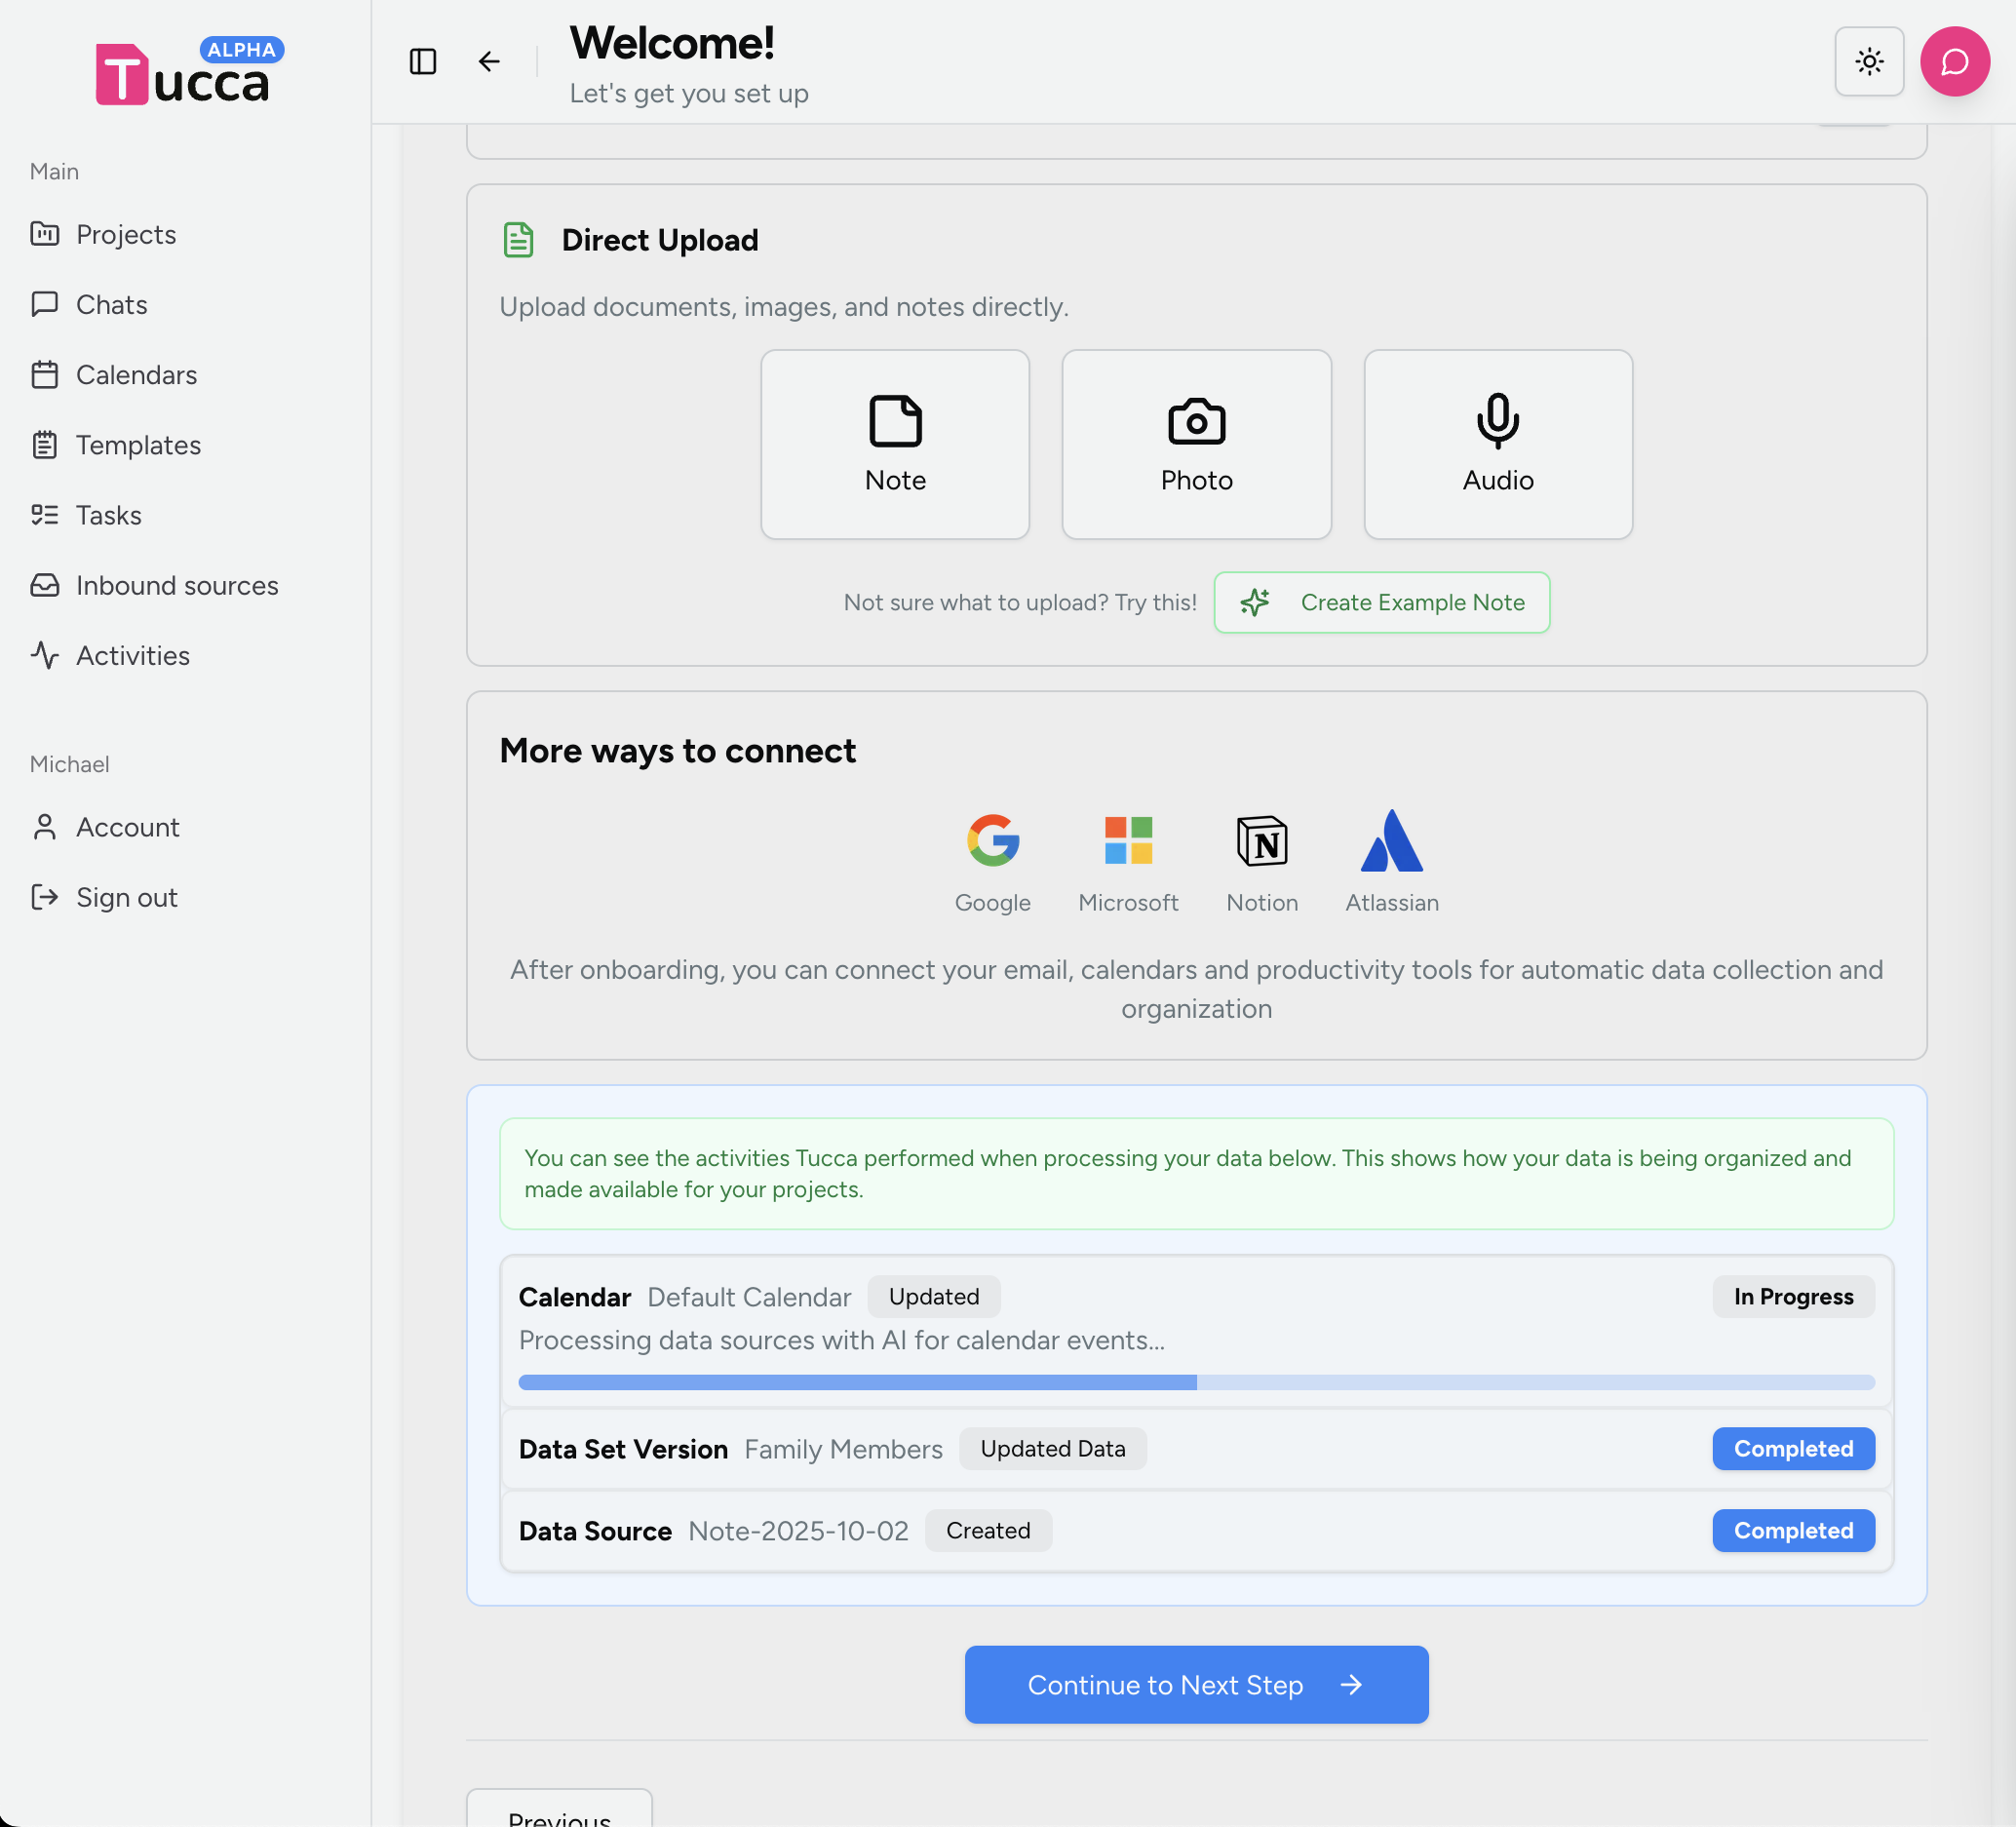
Wait for the data to arrive
Once the data arrives, you will see activity items populating in lower section showing the progress of the data being processed. Once you have data arriving you can continue to the next step.- 📱 Mobile
- 💻 Web
Now we can see the new activity events indicating your data is being processed
Upload files and images
You can also add data through the web or mobile app:- Upload documents, spreadsheets, and PDFs
- Take photos with your mobile device
- Share content from other apps
- Create notes directly in your projects
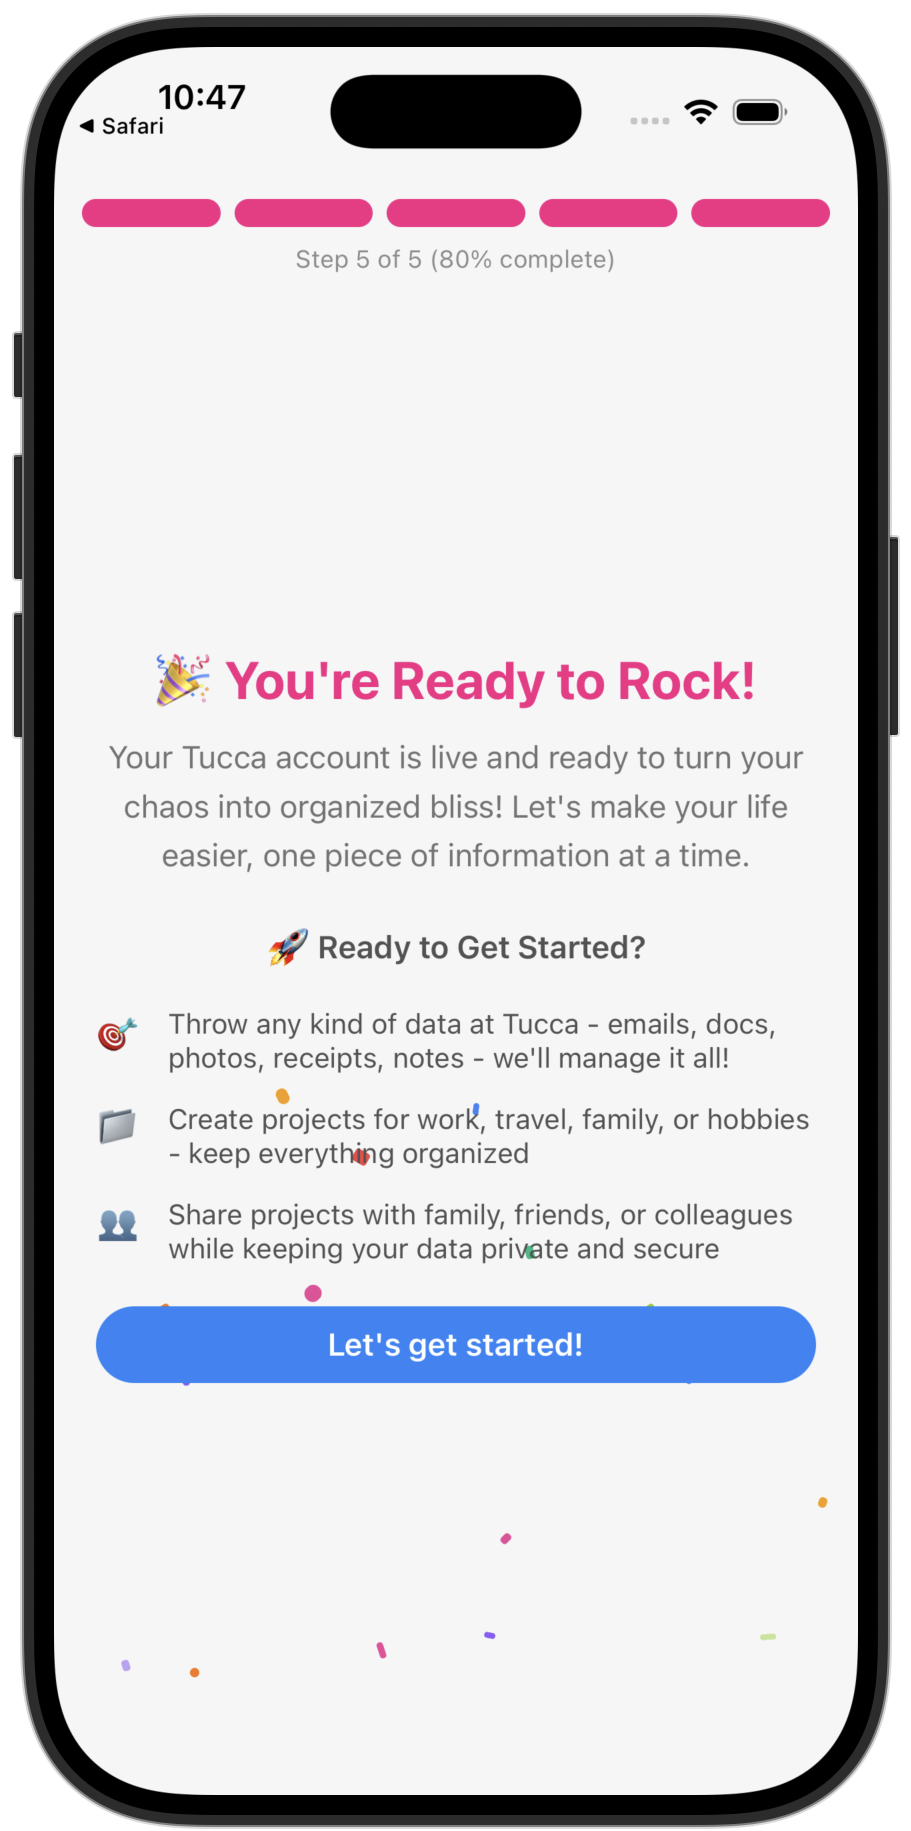
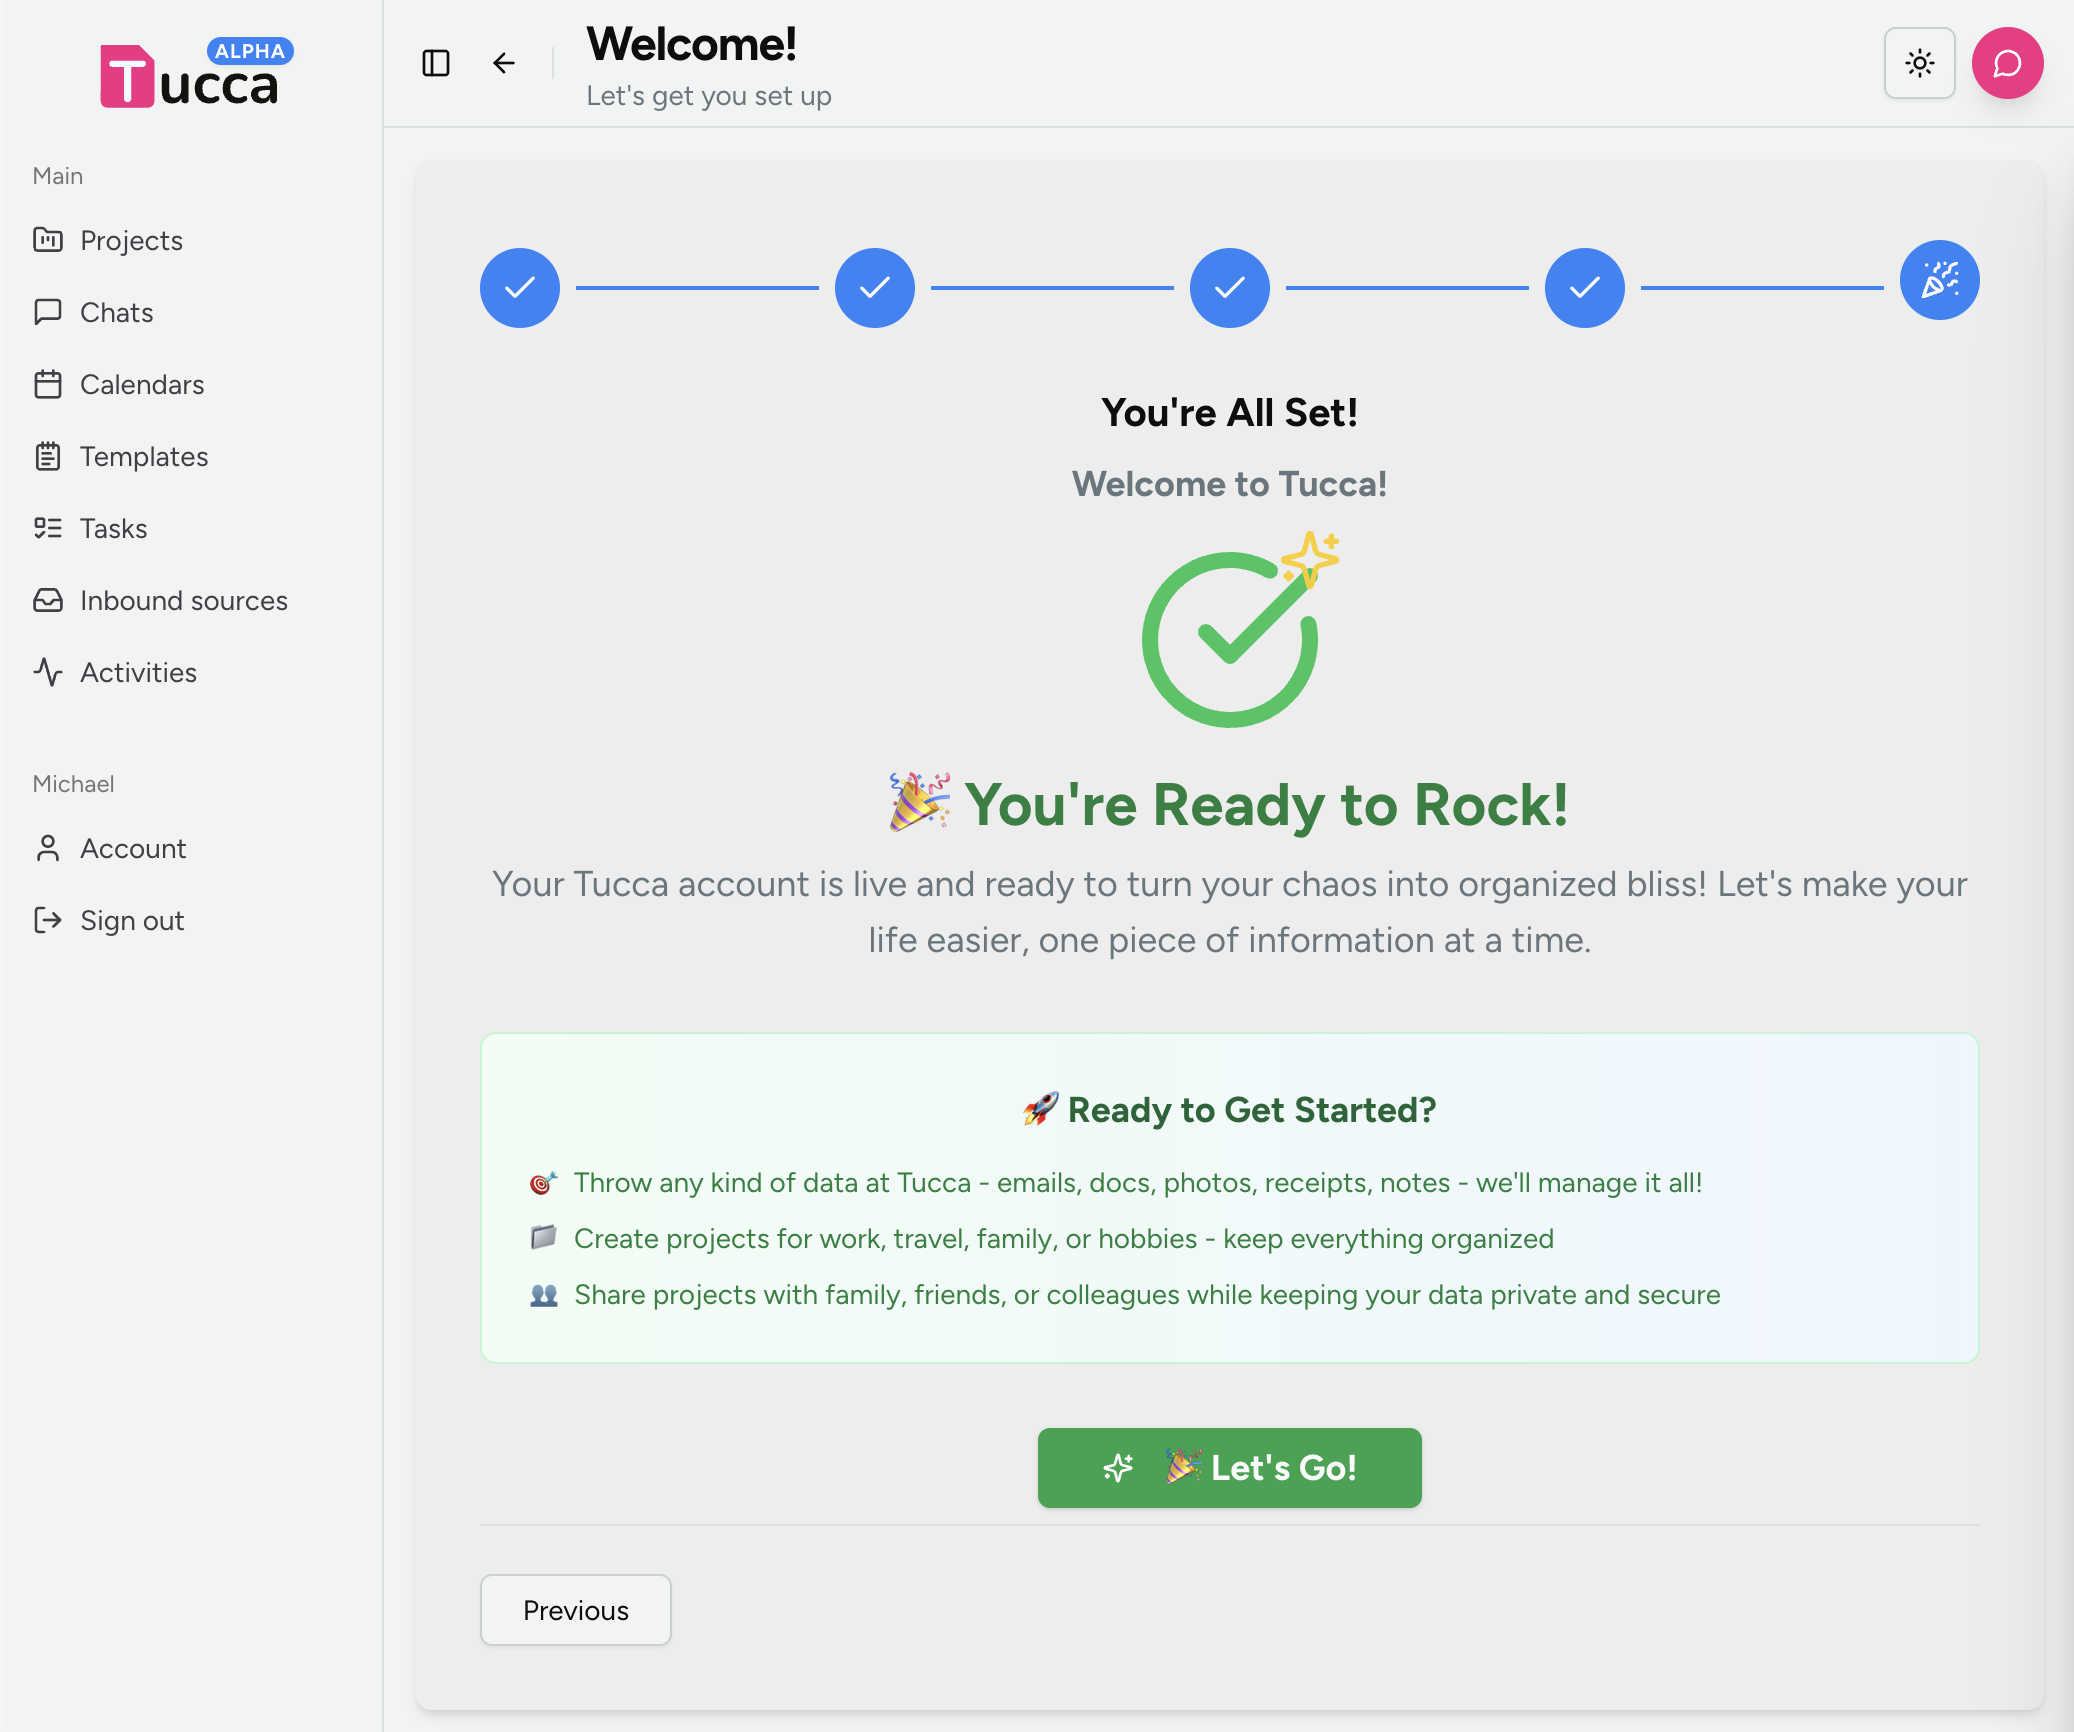
Step 6: You’re Ready to Go!
Congratulations! You’re now set up and ready to use Tucca.- 📱 Mobile
- 💻 Web
- Jump into a project and take a look around.
- Start sending data to your projects.
- Try chatting with the global chat assistant to get started or create a new project chat and ask about your data.
- Invite other users to your projects to collaborate.
What’s Next?
Now that you’ve completed the quick start and have your initial projects set up, explore these areas to get the most out of Tucca:Understanding Projects
Learn how to create and manage projects effectively.
Data Sources
Discover all the ways to add files, images, links, and more to your projects.
Chats
Learn how to chat with your data. Find everything you’re looking for and
perform actions on your data.
Outputs
Generate living documents, spreadsheets, web apps, and more from your data
using plain text instructions. See your data how you want to see it.
Tasks
Set up automated workflows to keep your projects running smoothly.
Best Practices
Discover how to get the best results from Tucca.
Use Cases
See how others use Tucca for different purposes.
Need help? Check out our troubleshooting guide
or contact support if you have questions.